Hello Community!
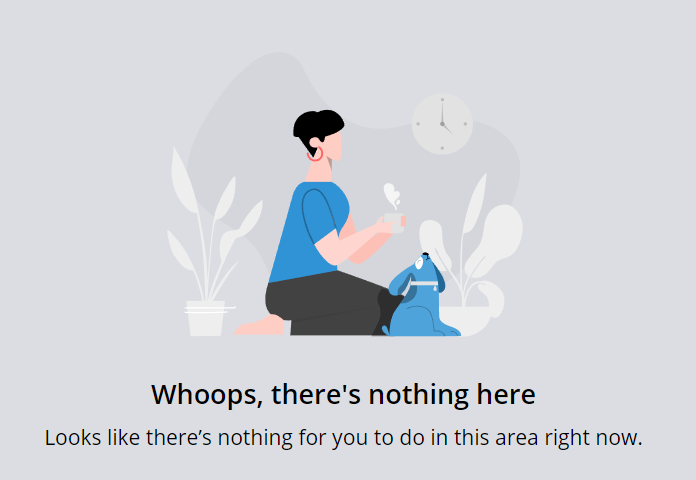
Does someone know how to change this picture?
Thanks!

Hello Community!
Does someone know how to change this picture?
Thanks!

Hello it doesn’t seems to work for me this is how i am trying to do this:
Hope someone can help!

Is there a reason you are putting it in the 6.9 custom and not the 7.0?
Does anyone know how to remove the image altogether using CSS so that it doesn’t take up all that space?
Does anyone know how to remove the image altogether using CSS so that it doesn’t take up all that space?
So the current solve above does this, and then shows a new thing, have you tried just putting the hide part?
doc-widget-channels ui-illustration.ui-illustration svg,doc-widget-course-catalog ui-illustration.ui-illustration svg, doc-widget-my-courses-and-learning-plans  ui-illustration.ui-illustration svg{
    visibility: hidden;
}
Ah, you prob want the space gone too right? If you make the above less specific, so its not just the iamge, but the container, should work:
doc-widget-channels ui-illustration,doc-widget-course-catalog ui-illustration, doc-widget-my-courses-and-learning-plans  ui-illustration{
    display:none;
}
Thank you
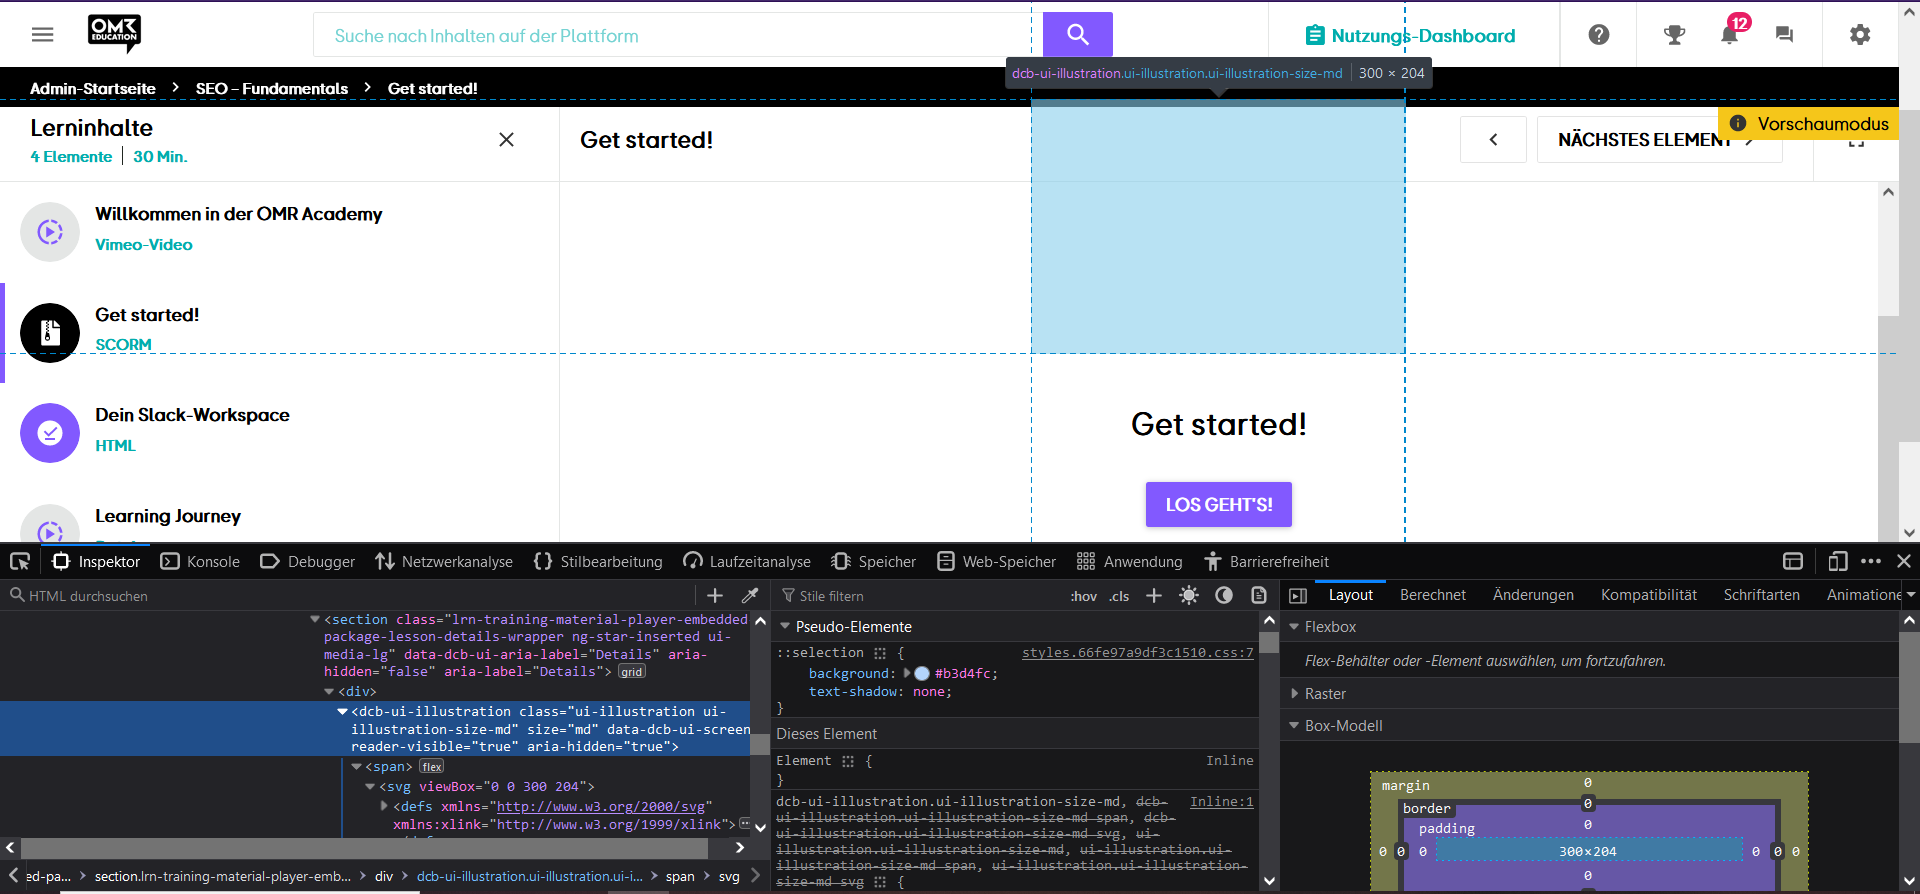
Hi everyone, I'm having problems implementing this in the new course player. In the old layout I could simply apply the code. The svg graphic currently works, but no new graphic can be displayed. Does anyone have a solution for this?
lrn-training-material-player-embedded-package section.lrn-training-material-player-embedded-package-lesson-details-wrapper dcb-ui-illustration.ui-illustration.ui-illustration-size-md
{
    background: url(https://pics.clipartpng.com/midle/Cat_PNG_Clip_Art-2690.png) no-repeat center !important;
    background-size: contain !important;
}
lrn-training-material-player-embedded-package section.lrn-training-material-player-embedded-package-lesson-details-wrapper dcb-ui-illustration.ui-illustration.ui-illustration-size-md svg
{
    visibility: hidden;
}
This is the code I want to use to replace the graphic with the scooter in the course player. As I said, hiding it works, but unfortunately showing the new graphic does not. If I change the order of the code, it shows both graphics on top of each other.
.lrn-training-material-player-embedded-package-lesson-details-wrapper .ui-illustration {
    background-image: url(https://pics.clipartpng.com/midle/Cat_PNG_Clip_Art-2690.png);
    background-size: contain;
    background-repeat: no-repeat;
    background-position: center;
}

.lrn-training-material-player-embedded-package-lesson-details-wrapper .ui-illustration svg {
    visibility: hidden;
}
Let me know if you still have issues!
Hi

Here is a screenshot.
Enter your email address or username and password below to log in to Docebo Community. No account yet? Create an account
Enter your E-mail address. We'll send you an e-mail with instructions to reset your password.