Best Answer

Catalog Calendar - current day background color

  • 6 February 2024
  • 6 replies
  • 89 views

  • Novice III
  • 14 replies

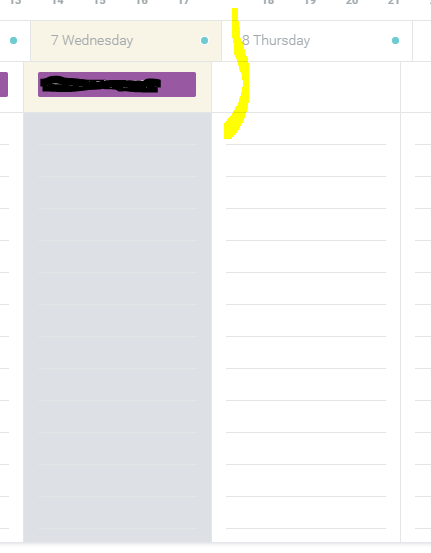
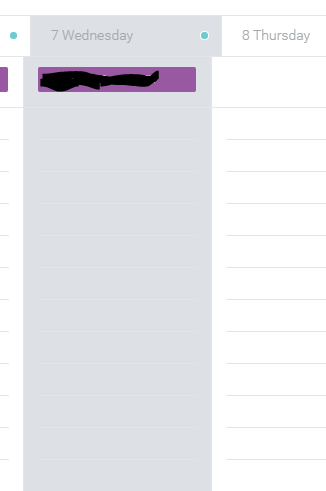
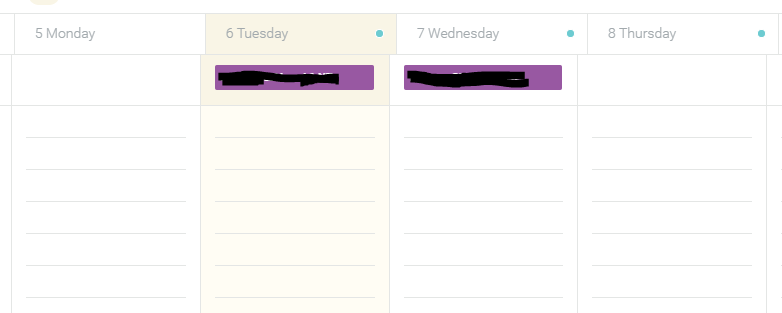
I’m wondering if anybody has worked out how to customise the background color of the current day in the catalog calendar view. It’s a weird off-yellow kind of thing which is not part of any of our color settings, so I’m not sure how it’s defined or whether it can be changed. I’ve been able to modify other calendar colors usng css from previous community threads but couldn’t find anything for this.


icon

Best answer by elamast 6 February 2024, 16:08

View original

6 replies

Userlevel 6
Badge +2

Sure!  Here’s the relevant CSS if you want to apply color changes to “today” in the calendar:

Weekly view:

.docebo-calendar .cal-week-view .cal-week-main-view .cal-today {

     background-color: YOURCOLORHERE !important;

}

Monthly view:

Here’s how to change the day on the monthly view of the calendar:

.docebo-calendar .cal-month-view .cal-days .cal-cell-row .cal-cell.cal-today {

    background-color: YOURCOLORHERE !important;

}


Thanks so much @elamast. That works perfectly.

ah, I spoke too soon. The top of the day on the weeky view is unchanged. I tried experimenting with the cal-header selected-day and all-day-event and other cal options, but everything I did just broke it. Any more wisdom?


Userlevel 6
Badge +2

This should do it for the weekly view column header:

.docebo-calendar .cal-week-view .cal-day-headers .cal-header.cal-today {

    background-color: YOURCOLORHERE !important;

}

Thanks again @elamast. With that it still leaves the all day event row,


but I was able to work out that if I just use the following it changes the full listing.

.docebo-calendar .cal-week-view .cal-today {

    background-color: YOURCOLORHERE !important;

}


Userlevel 6
Badge +2

For those who may be reading this in the future, here’s how to pinpoint what you need to change for any element:

  1. Right click on the page and select “inspect” from the menu.
  2. Click on the icon that looks like a dotted line outline of a page with an arrow in the corner (or use Ctrl-Shift-c).
  3. Point at the item you are interested in on the page.  In many cases it will be an element above the one you really want, but that’s OK.
  4. This next part requires some detective work. In the Elements screen you will see the code highlighted for the item you clicked on.  More than likely you will need to click the triangle/twisty icon to drill into different elements hidden deeper in the code.  As you click on a line of code you should see items being highlighted on the page itself. By trial and error you will eventually come upon the element you are interested in changing.
  5. Under “Styles” you should see the CSS code that is controlling how the element appears. You can make changes directly in that panel to see if your element changes the way you were intending.
  6. Once you find the right setting, you can right-click on the style you changed and “copy rule” to get the CSS.
  7. Since you’re going to be overriding the default style, you’ll need to add “!important” after the line that’s being changed.  (You do not need to include any lines you’re not changing.)

    Here’s a random example:

    BEFORE:
    .html-editor__buttons {

        margin-top: 8px;   <--We’ll change this to 20px

        background color: white;   <--This line won’t be changed

    }


    AFTER:
    .html-editor__buttons {

        margin-top: 20px !important;  

    }

These lines would be added to the “custom styles” on the admin’s “Configure branding and look” page. This reference may also be of some help:  https://developer.chrome.com/docs/devtools/css

Reply