

This guide is the eighth in a new series of new guides brought to you by
We previously talked about how to bulk update Users into Power Users. The natural next step is to learn how to remove this level and turn Power Users back into standard users en masse. While this is often overlooked, it is important to make sure users only have the specific rights they need as roles or use cases change.
There are two ways to do this—one very precisely with lists of User IDs, and another using search criteria. This article will cover how to do both.
Important Note: The API endpoint we will be using is a DELETE endpoint, meaning it will remove and change information on your system. It is highly recommended to test on a sandbox environment to make sure you are OK with the changes before doing this in a production setting.
The Precise Method
Getting Docebo User ID’s
First and foremost, if you are going to be demoting a bunch of Power Users to Learners, you need to know which users those are. Ultimately, we need this to be a comma separated list of the User Unique IDs.
Note: Due to performance considerations, this operation will be capped at 250 users per call. You can easily make batches of users and swap them out to quickly unenroll more than 250 users.
While there are several methods for retrieving these IDs, in this particular case I highly recommend simply making a ‘Users’ report. When defining your report make sure to check the box ‘User Unique ID’ and ‘User Level’ under the User Fields selection area:
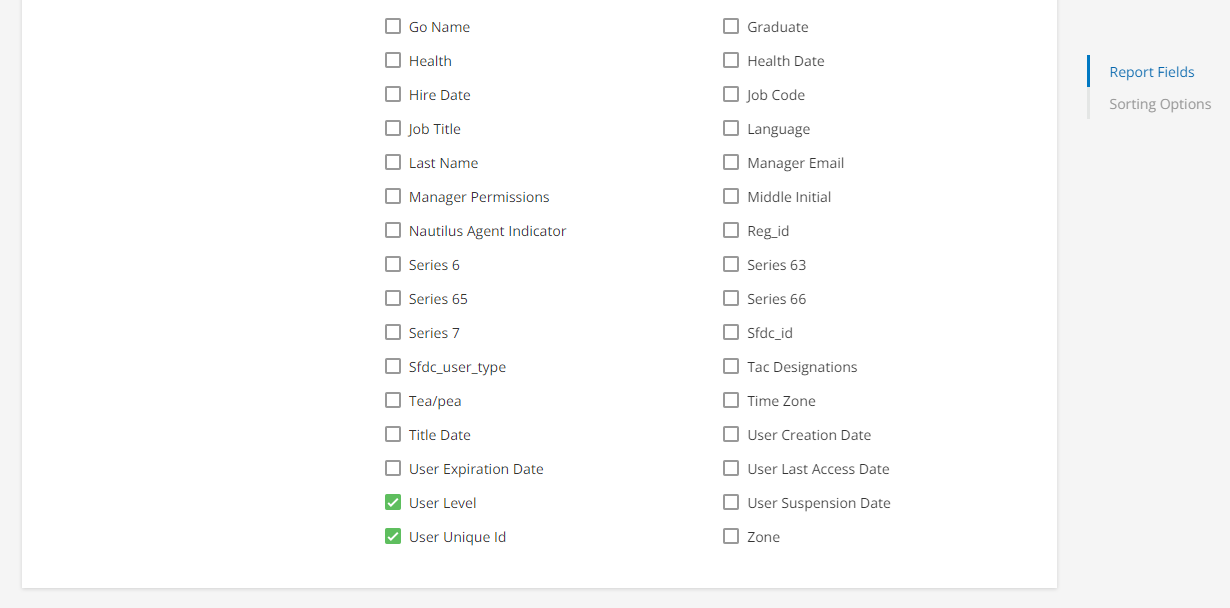
This will add a column of the exact IDs we need as well as a column to easily filter for current Power Users. Use the report to sort/filter/organize your data to identify the users.
When you are ready, we need to convert the column of ‘User Unique IDs’ to a block of comma separated values. There are many ways to do this, so feel free to use your own preference (i.e. concatenating a comma to the end of each row, using TEXTJOIN to merge a defined range, etc.). If you do not have a good way to do this or maybe not a fast way, the easiest is to:
- Copy the column of ‘User Unique IDs’ that you want to use to your clipboard.
Note: Skip the heading, we only want the User ID numbers.
- Go to https://codeshack.io/column-to-comma-separated-list/
- In the top box, paste the User IDs into it:
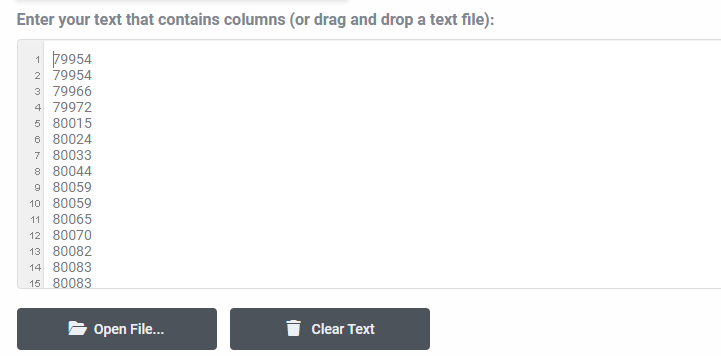
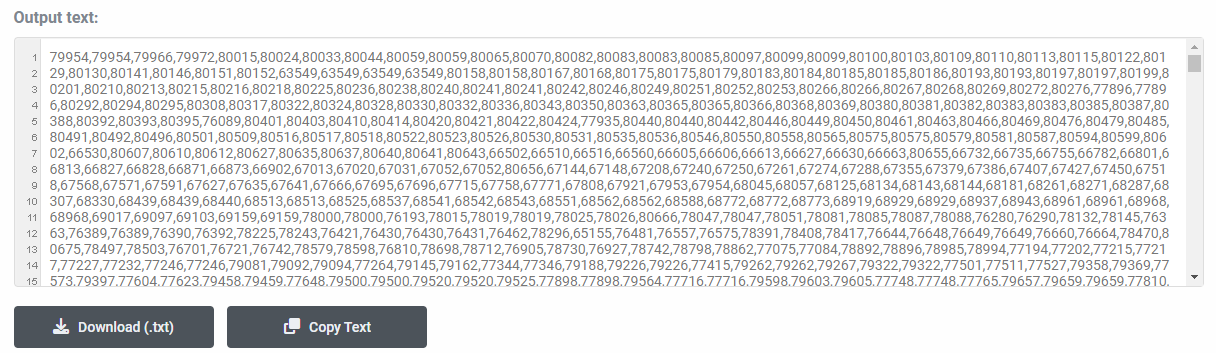
- Scroll down to the bottom box and you will find all the IDs separated by a comma, exactly what we want. Copy this to a place you can refer to later.
Removing Power User Rights
Ok, you have now gathered the exact User IDs. Now it is time to format the information correctly to do the actual call using the API Browser.
- Log into your Docebo instance’s API Browser by going to: https://<yoursubdomain.docebosaas.com>/api-browser/
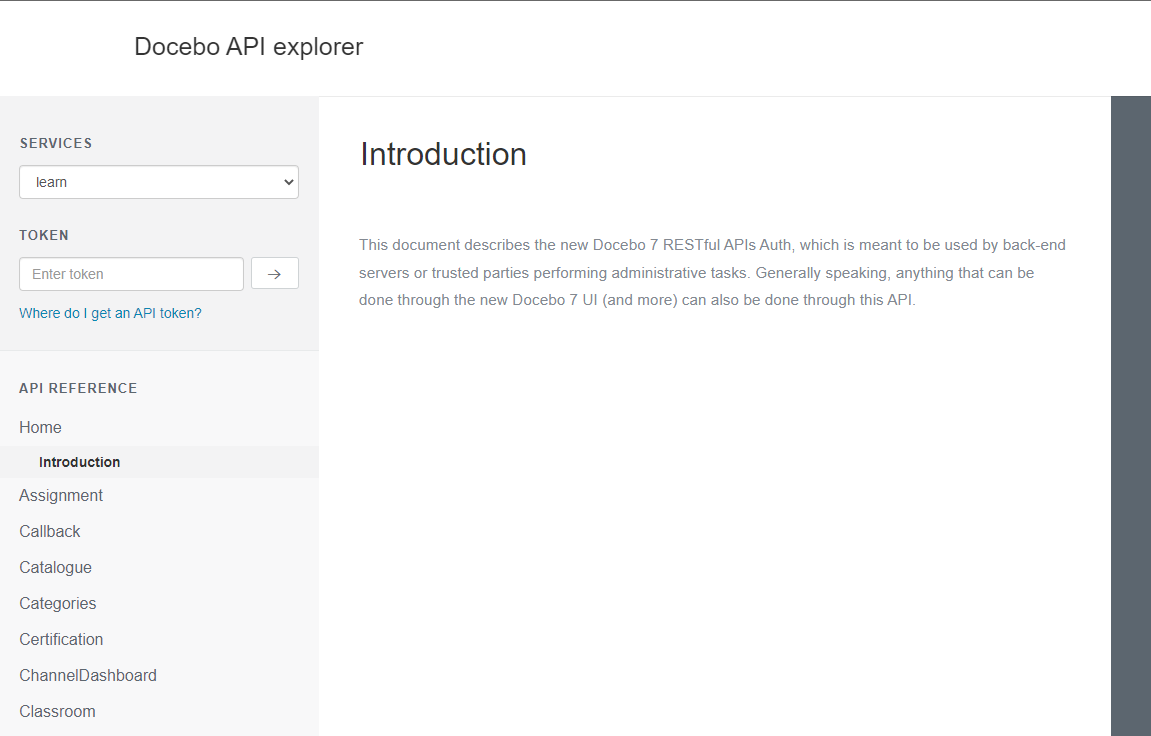
- On the ‘Services’ menu select ‘poweruser’.
- Scroll down the left side to find and select the ‘Powerusers’ category.
- Select the ‘Unassign Power users’ option.
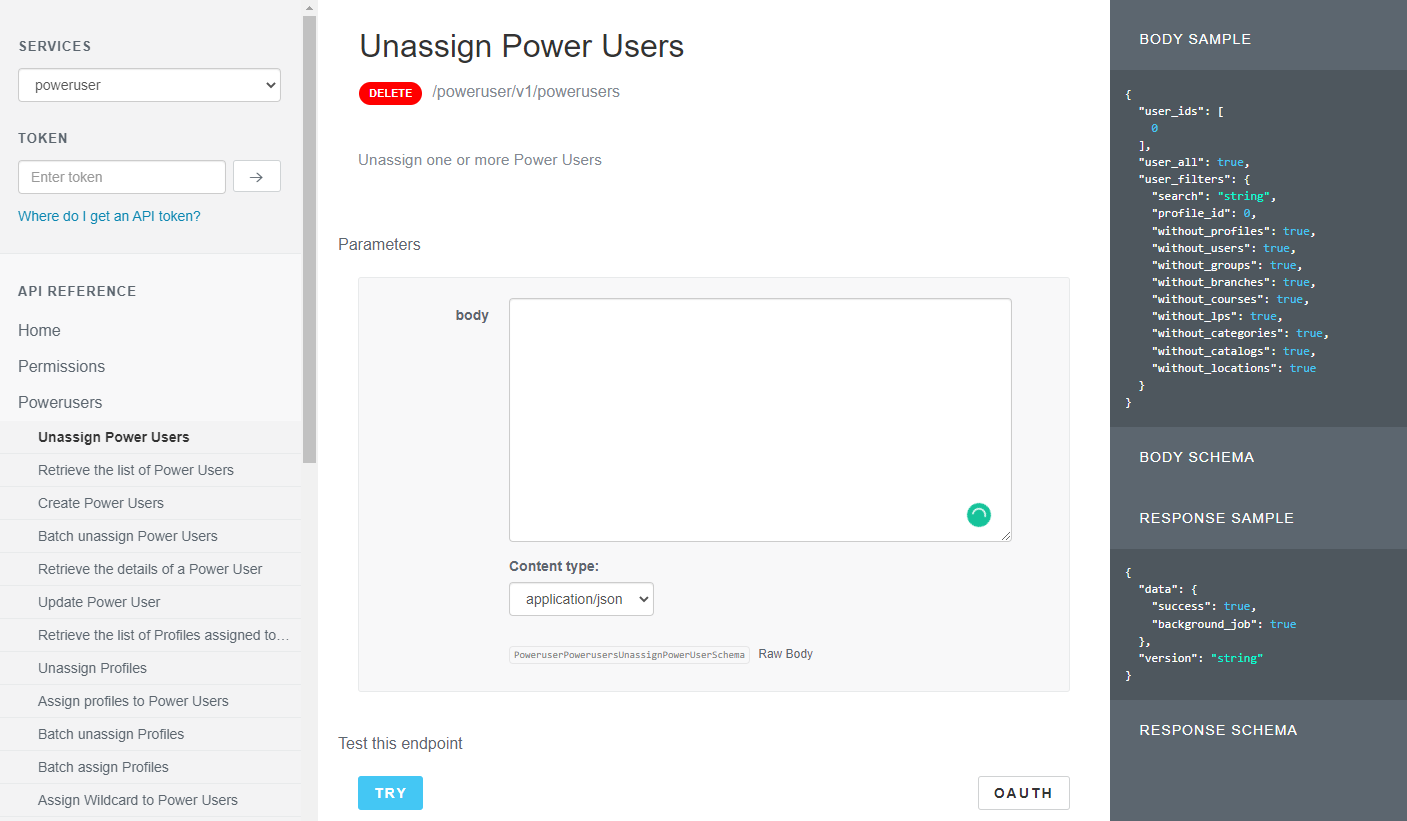
- Copy the following into the ‘body’ box:
{
"user_ids": [

    0

  ],

  "user_all": true

}
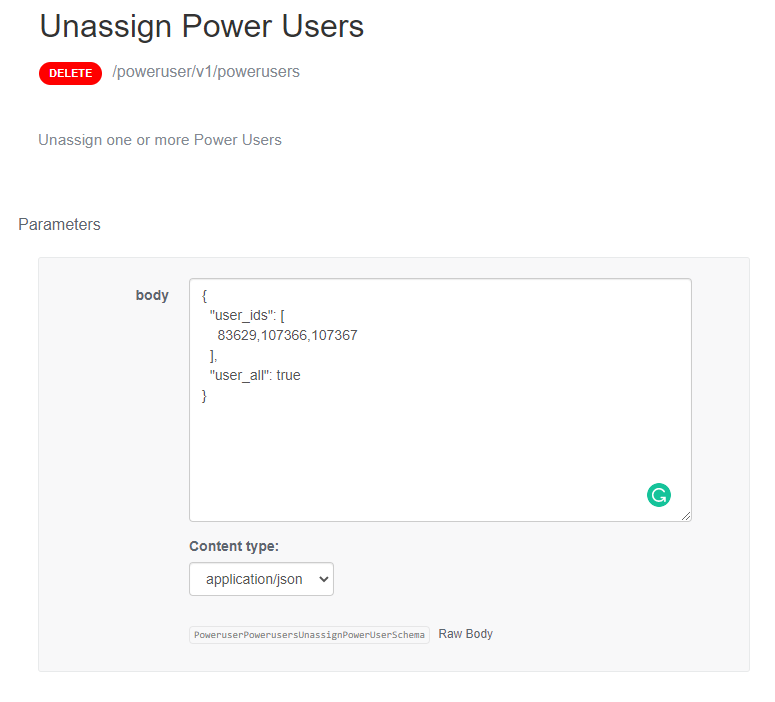
- Copy your block of User IDs from above and replace the ‘0’ in the ‘user_ids’ section.
- Your setup should look similar to the example below which shows three Power Users being turned back into normal learners:
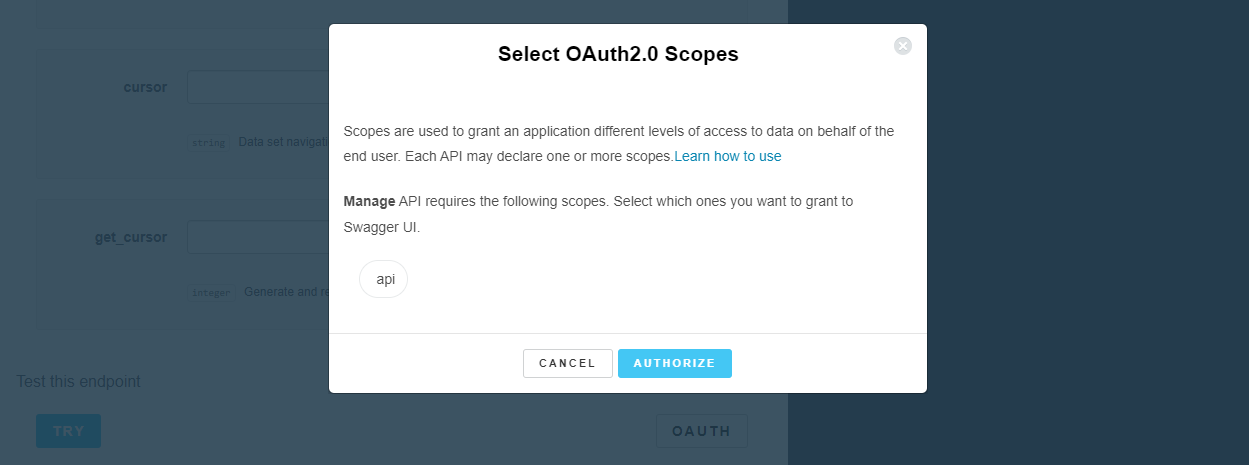
- Select the ‘OAUTH’ button underneath the options and sign in if you have not done so already.
- Select the ‘Try’ button.

- The result will show in the middle of the screen in the ‘Response Body’ box. Make sure to review it for potential errors. Make sure the ‘success’ field says ‘true’. If it says false, it will give a message as to what is wrong:
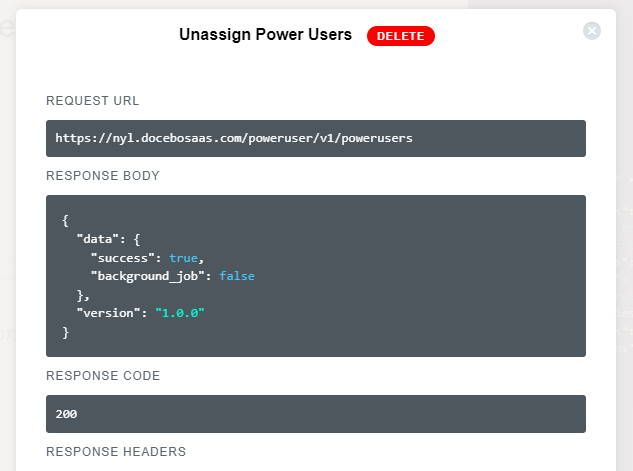
That’s it! Congratulate yourself, because you just successfully turned a bunch of Power Users into Learners. If you had to break your users into batches, simply swap the block of users in the ‘user_ids’ area and click ‘Try’ again.
Search Criteria
One advantage of how the unassign endpoint is configured is that you don’t need to be as precise with User IDs if you do not want to. Instead you can use criteria and have the system remove the rights of anyone that fits the criteria. This is pretty great is for instance you wanted to remove everyone who was assigned a specific profile. Instead of finding and listing each individual User ID, you can simply enter that profile ID and have everyone turned into Learners who were assigned that profile.
This is a very flexible method, so I am going to cover the possibilities and list some resources instead of going step by detailed step like usual.
The endpoint being used is the same used in the precise method above, and you can navigate to it the same way. Here is the core block you should use for the body:
{

  "user_ids": [

    0

  ],

  "user_all": true,

  "user_filters": {

    "search": "",

    "profile_id": 0,

    "without_profiles": false,

    "without_users": false,

    "without_groups": false,

    "without_branches": false,

    "without_courses": false,

    "without_lps": false,

    "without_categories": false,

    "without_catalogs": false,

    "without_locations": false

  }

}
This time, instead of entering a block of user IDs, leave the ‘0’ there. Take a look at the area underneath and you will see a bunch of ‘user_filters’. In the above block, they are all showing ‘false’ or an empty state. This will let you change one or a combination of them to meet your needs. Here is a brief explanation of each filter:
- Search: You can put a text string inside the quotes here and it will search for Power Users that match the string in their username, first name, last name, or email address. Be careful with this as it will return any user that matches in any of those fields, and you can easily bring in too many users.
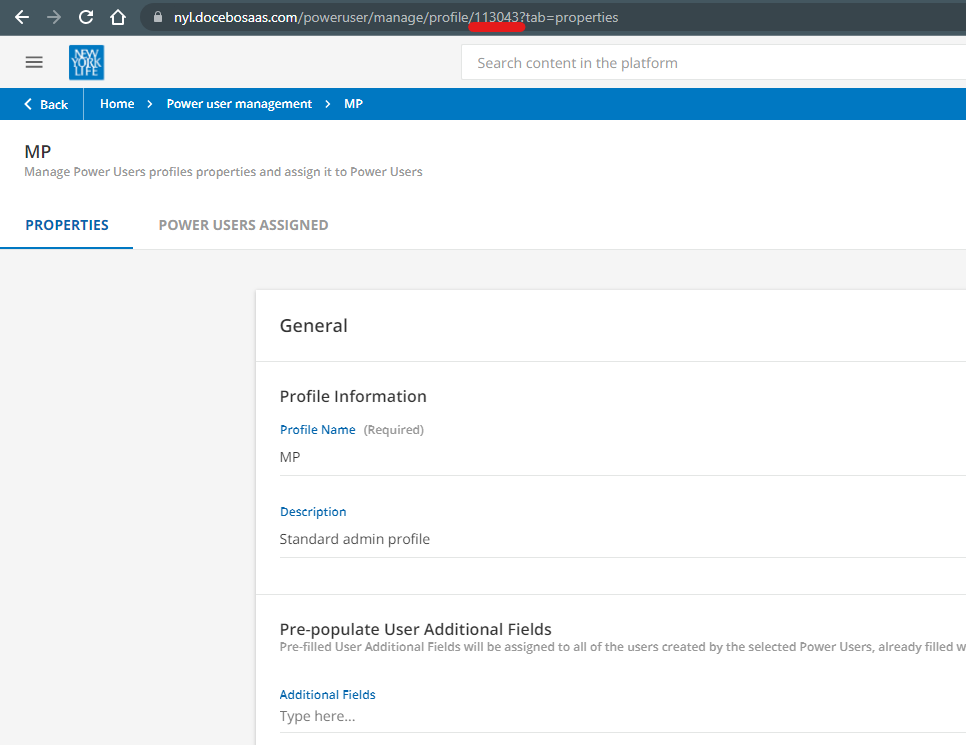
- Profile ID: This is a number and corresponds to the Power User Profile. The easiest way to find this ID is to go to the edit screen for the Power User profile and look at the end of the URL in the browser bar. It will be shown towards the end:
- Without Profiles: Change this to ‘true’ to have only Power Users who do not have ANY profile assigned to them. I like to use this as a cleanup measure occasionally.
- Without Users / Groups / Branches / LPS / Categories / Catalogs / Locations: Change any one of these or combination to ‘true’ to have Power Users who are not assigned Users, Groups, Branches, Learning Plans, Categories, Catalogs, or Locations respectively.
Once you have configured your search criteria correctly, log in and hit the ‘Try’ button to run the request.
Please be very careful with this technique! While it may be easier because you do not need to find the user IDs, you also can’t proof who will have their level removed ahead of time. Be very specific and focused with the criteria you use to make sure it only returns those you truly want.
More API Browser Quick Grabs:
Bulk Update Course information
Bulk Unenroll Users from Courses or Learning Plans
Bulk Update User’s Enrollment to a Completion