This guide is the first in a new series of new guides brought to you by
Series Overview
There has been an increase of requests/needs around the community lately that can be solved to some degree by using the API. Now I know many people, as soon as API is mentioned, don’t continue reading as they are just not comfortable using it. I get it. Please, just give me three more sentences before tuning out.
The goal of this series is not to describe elaborate program processes you could do if you were comfortable with the API (and had a lot of tools and resources available to you). The goal is to leverage the incredible API Browser included with your Docebo account to do one simple call to get you the information you need. All the details for how to setup that one call, common options, common ways to leverage the information in other calls, any potential risks involved, etc. will be fully detailed so you feel comfortable working with Docebo’s API.
If you still want to run, that’s fine. If you are ready to give it a try, let’s dive into the first one.
Listing Groups
To know all the groups in the system, you currently have to either manually make a listing and keep it up to date, or do some creative workarounds. For instance, you could make a test user and ensure it is enrolled in every group. That way, you could use reports not designed for group reporting to make a list. That, however, is a lot of work.
The API Browser gives a simple endpoint to get a listing of the ID, Name, Description, and Member Count of groups in the system. This is a great one to start with, as you are simply viewing information. This way, you don’t have to worry about causing problems in your platform. Here’s how to use it:
-
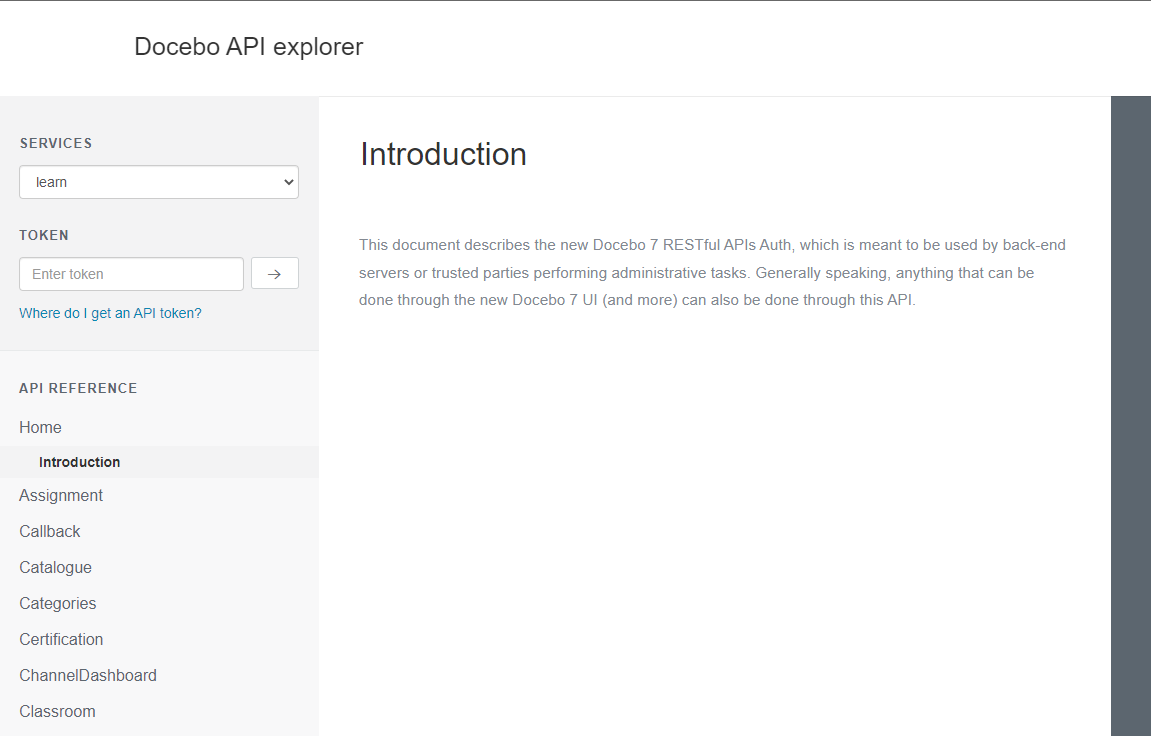
Log into your Docebo instances API Browser by going to: https://<yoursubdomain.docebosaas.com>/api-browser/
-
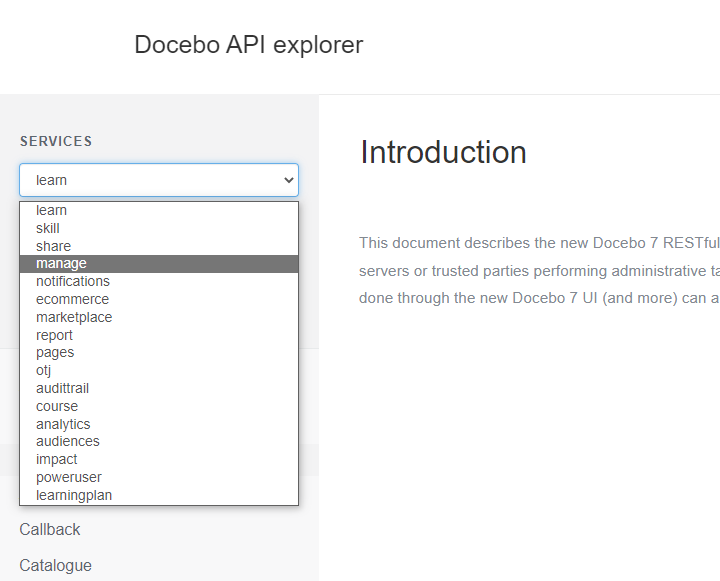
On the ‘Services’ menu, select ‘Manage’.
-
Scroll down the left side to find and select the ‘Group’ category.
- Select the ‘Returns all visible groups’ option.
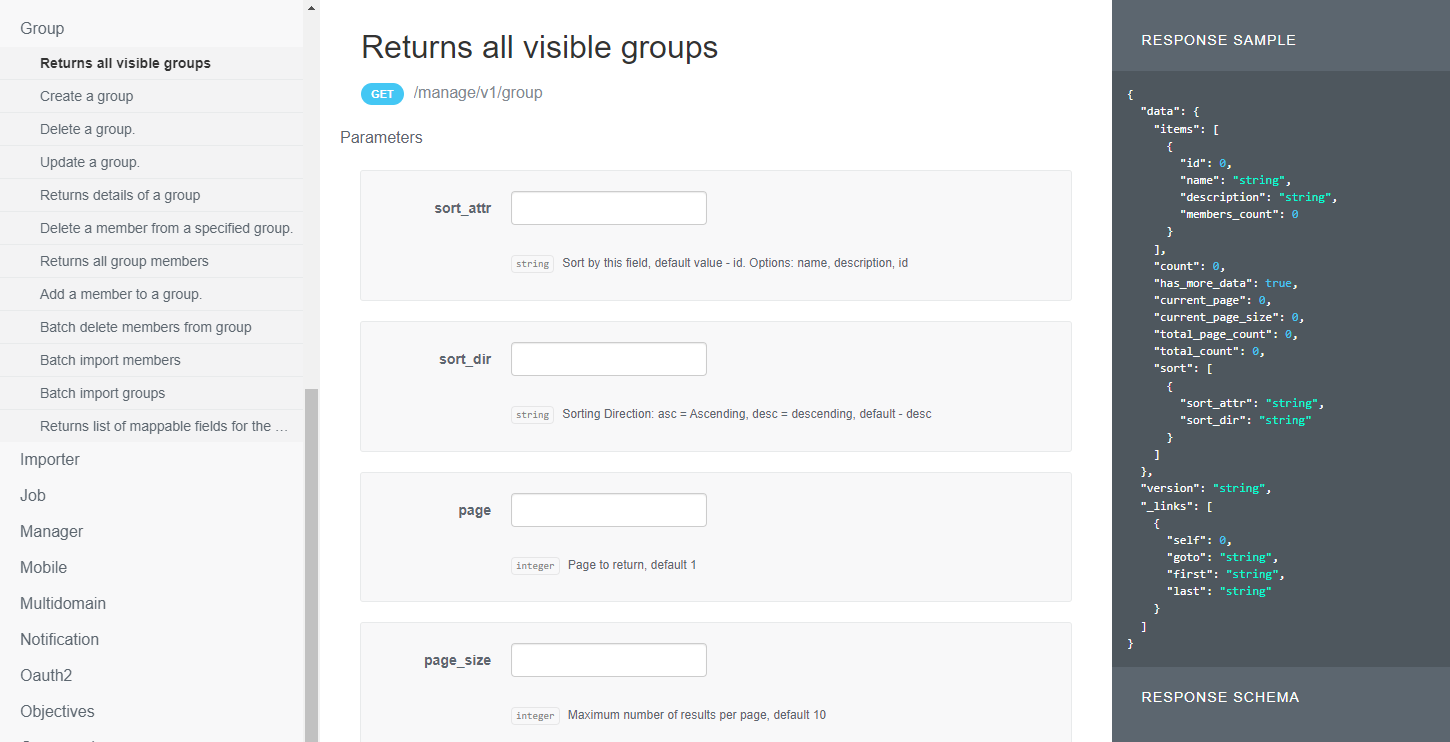
- There are 4 fields to be aware of on the middle area to be aware of:
- sort_attr: This sets which piece of data about each group is used to sort the order of the list. By default (leaving the field blank) this will be the unique Docebo ID assigned to the group. If you prefer to sort differently you can enter ‘name’ or ‘description’ into this field.
- sort_dir: Do you want the order of the attribute you selected in the previous field to be ascending or descending. By default (leaving the field blank) it will be descending, if you want it to be ascending put ‘asc’ in the field.
- page_size: This endpoint can have very long lists. To avoid performance issues it will make pages of results. This lets you set how many items show up on a page. By default it is 10 items. The maximum size is 200 items. Enter an appropriate number for your needs here.
- page: This endpoint can have very long lists. To avoid performance issues it will make pages of results. This field let’s you choose which of those pages you view in the output. For example, if you have 50 groups and the page size was set to 20, 3 pages would be generated. When you initially run the endpoint you will see items 1-20. If you put a 2 in this field you will then get items 21-40, put a 3 in this field to get 41-50.
- Enter the appropriate information in the fields described above.
.
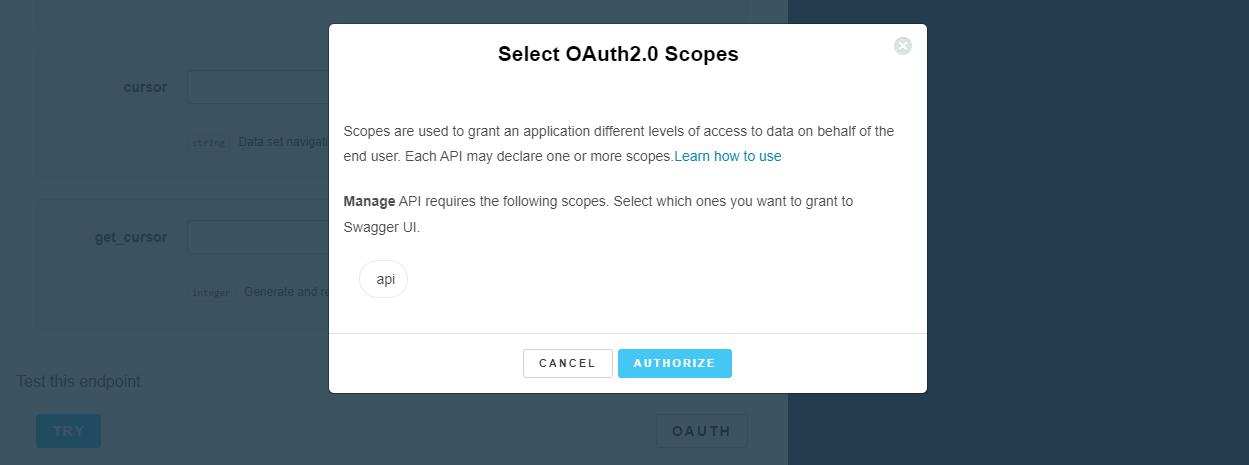
- Select the ‘OAUTH’ button underneath the options and sign in (if you have not done so already).
- Select the ‘Try’ button.
-
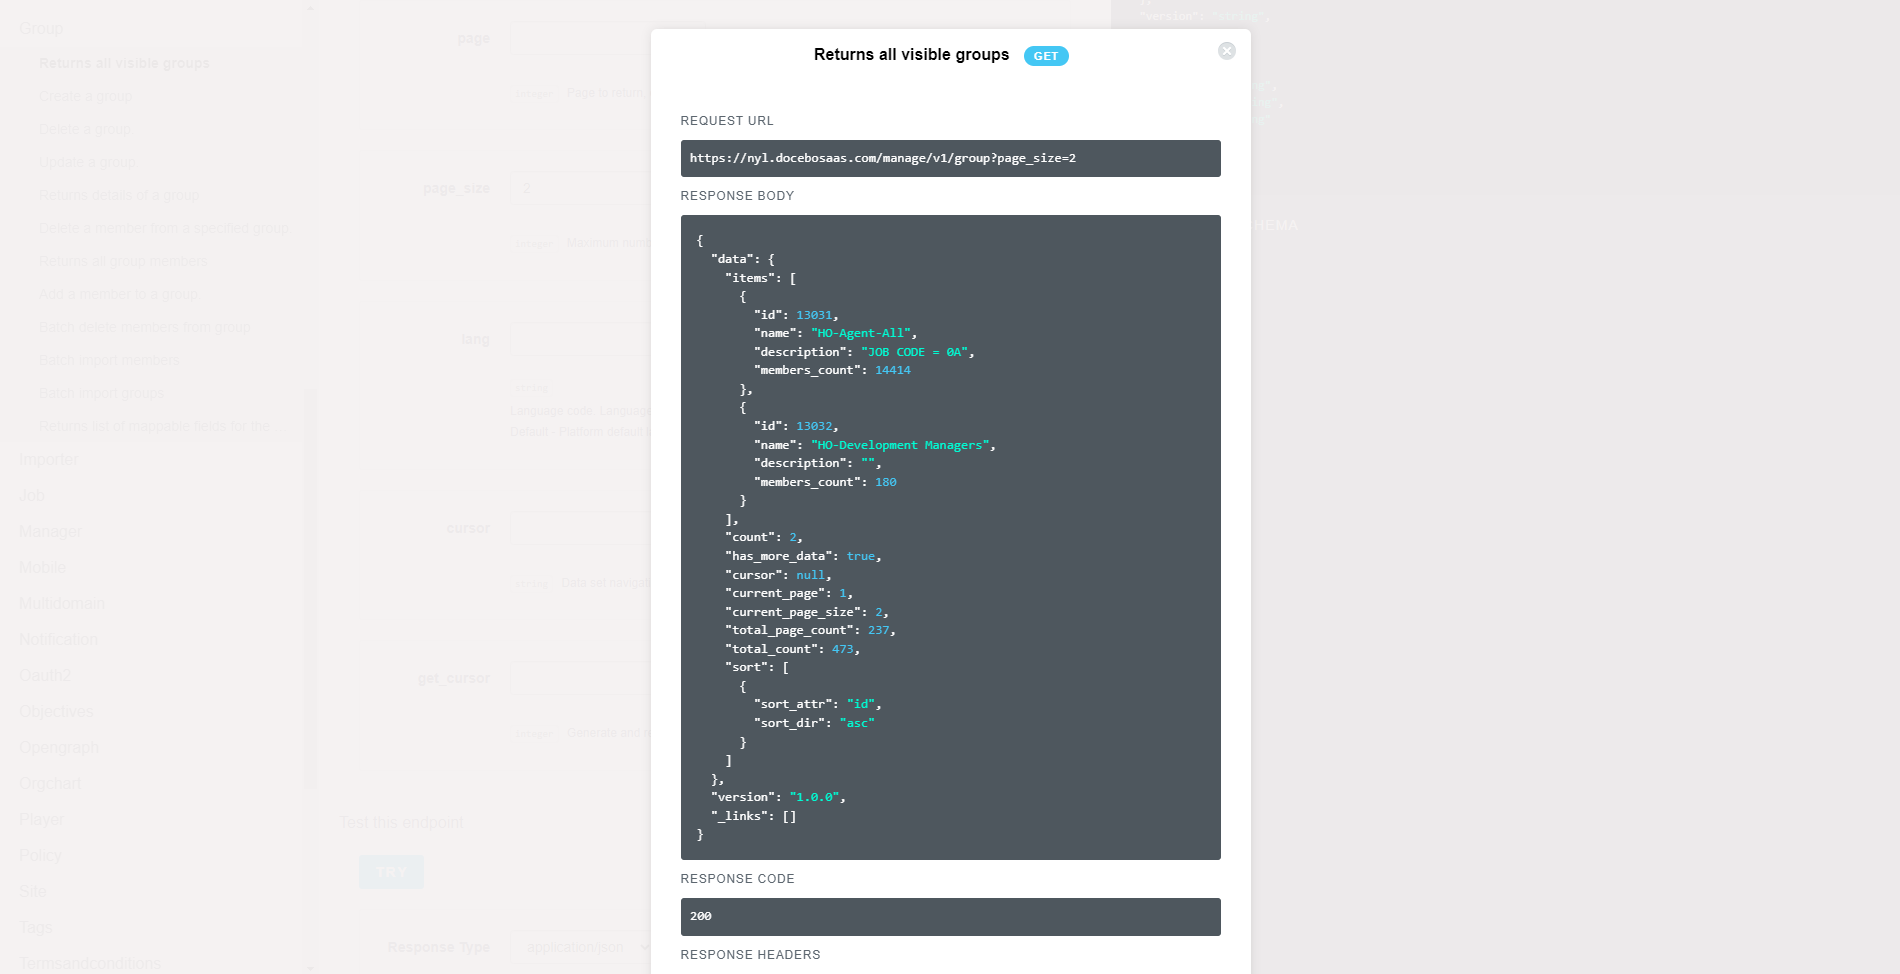
The request and response should open in the middle of your screen:
-
The information about the groups will be found in the ‘Response Body’ box. If you are comfortable reading or using JSON formatted data, you can simply use this box as is, and you are done. If you want this data in a more convenient table format, keep reading.
- Open the Excel or Google Sheets file attached to this guide. They work the same but are available in different formats for personal preference or restrictions on work computers.
- Access ‘API-AllGroupsJSON_Convert’ on Google Sheets here and make your own copy.
- Download ‘API-AllGroupsJSON_Convert’ for Excel by downloading the file attached at the bottom of this guide.
- Select and copy all the content from the ‘Response Body’ shown in step 9.
- On the first tab, ‘Drop Data’ in the workbook, paste the content into cell B4. Notice there are 5 boxes setup to paste content into. This is for cases where you have multiple pages. The workbook is designed to allow you to put up to 5 pages of 200 items each so you can convert 1,000 groups into a table.
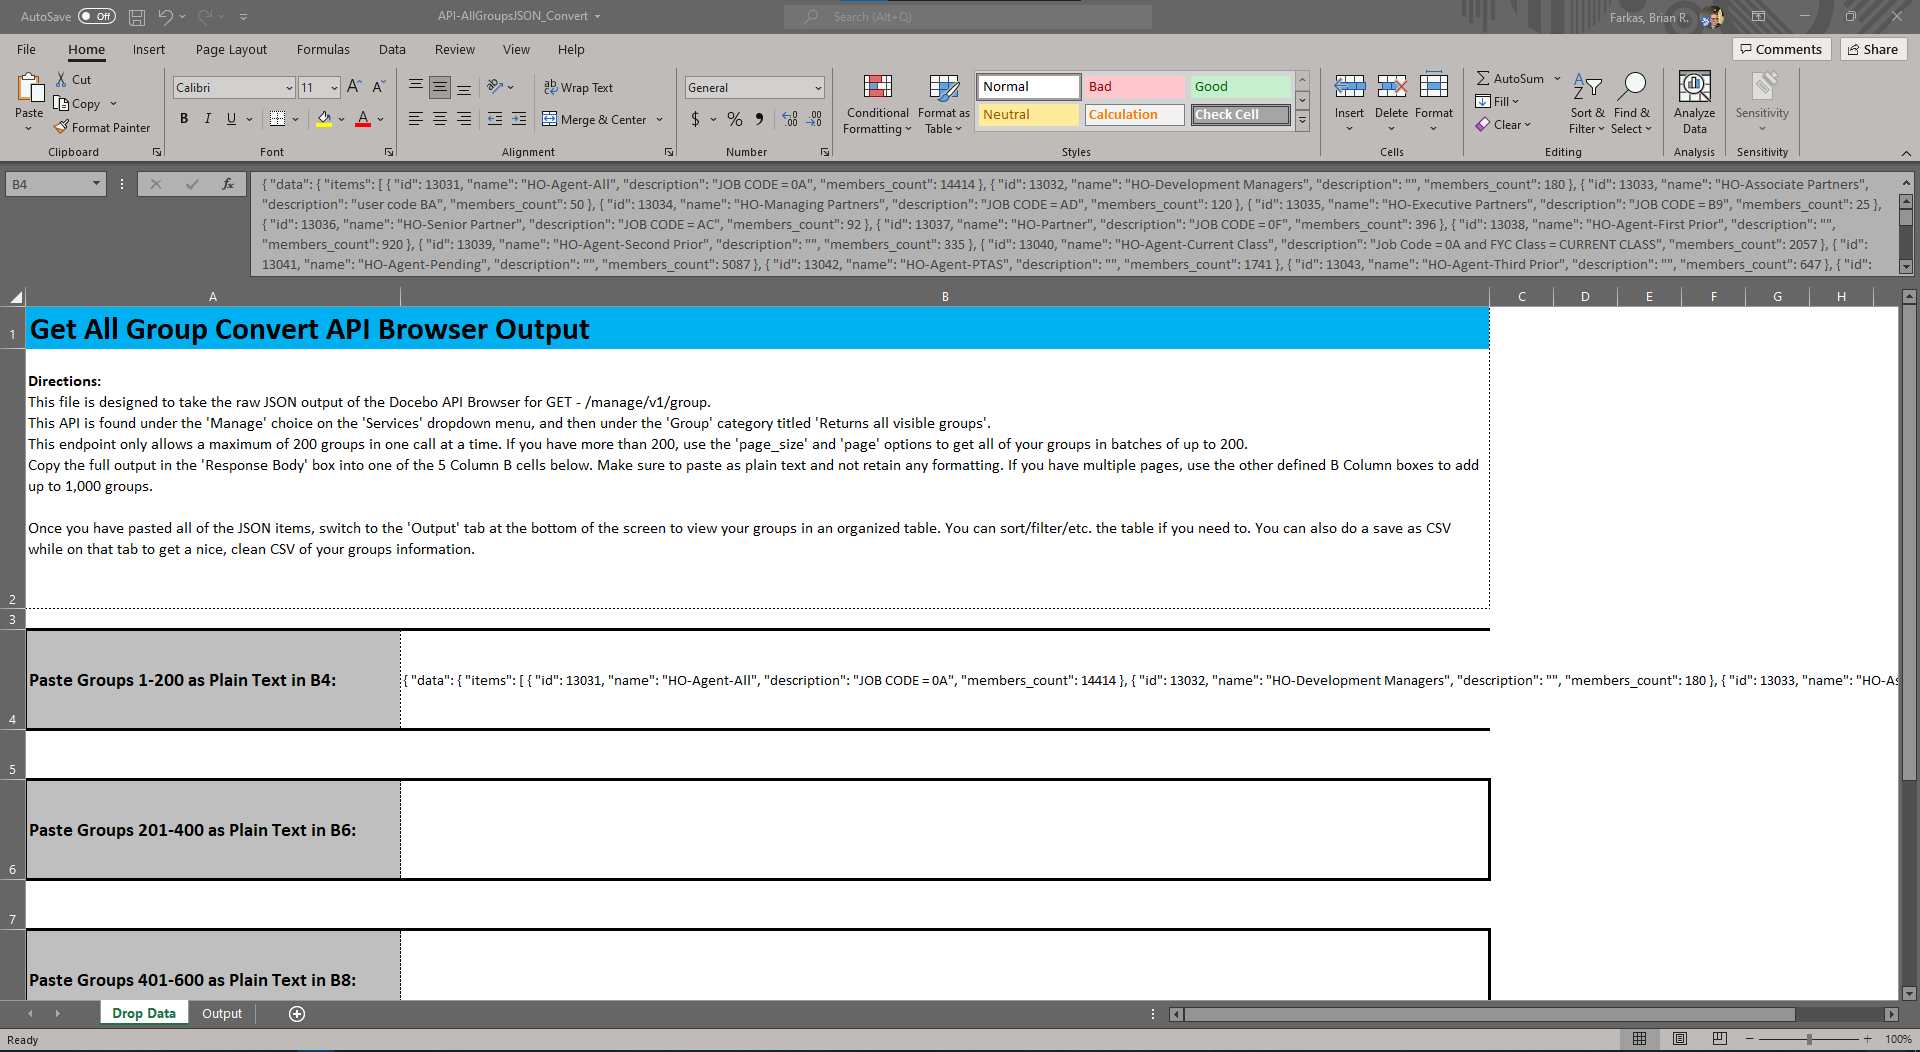
Note: Make sure to paste as plain text/remove all formatting.
- If you have multiple pages in the API Browser, repeat the process of updating the page number, trying the endpoint, copy the response body, and paste into the next available open box in column B.
- Once you have copied all the raw groups information, switch to the ‘Output’ tab at the bottom of the screen.
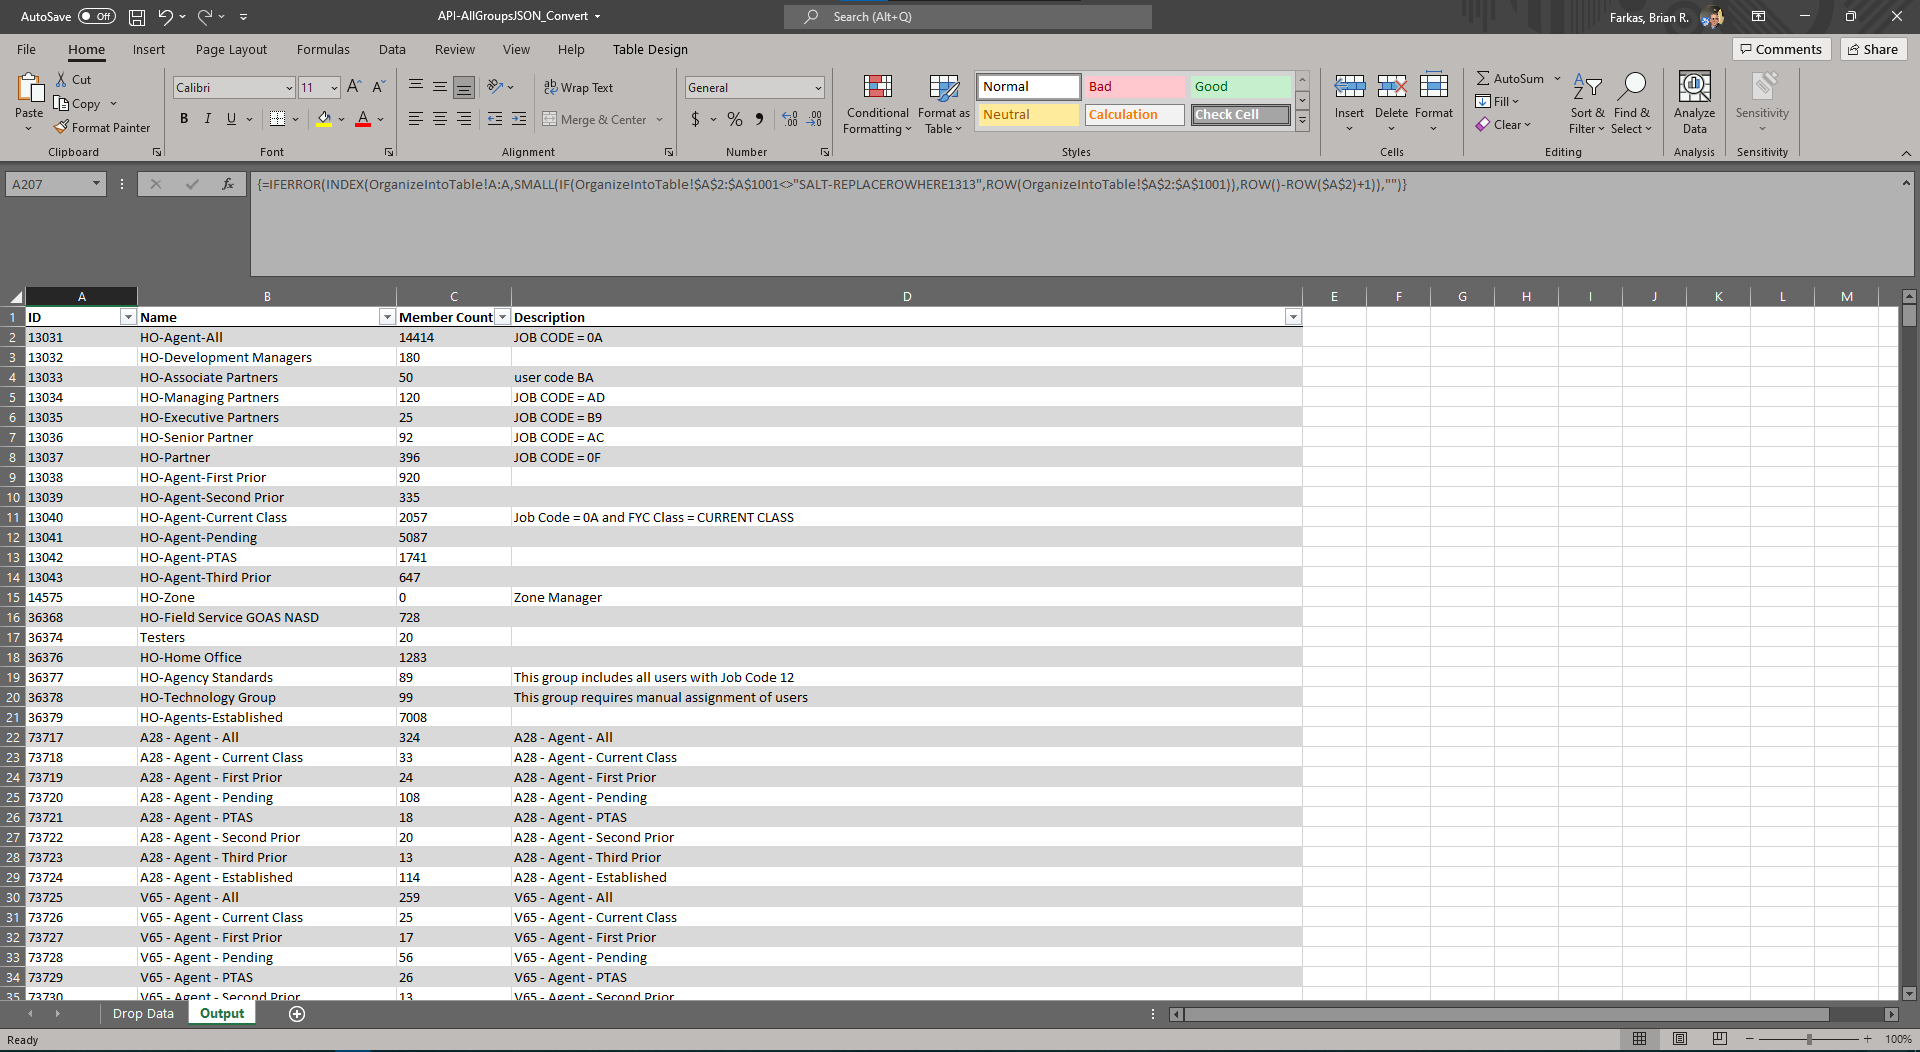
- Here you will find a pre-formatted table of all the results. Feel free to sort/filter the table however you want. You can also use ‘Save As’ on this page to generate a CSV of your groups.
That’s it! Now you have a nice table of all your group information. This is useful for watching for potentially broken automatic groups (0 users, or far too many users), find groups to remove (0 users), keep an eye out for redundant groups, etc.
More API Browser Quick Grabs:
Bulk Update Course information
Bulk Unenroll Users from Courses or Learning Plans
Bulk Update User’s Enrollment to a Completion
Bulk Enroll and Mark User Complete in a Course
Bulk Remove Power User Level from Users
There are lots of ways to use the API Browser to quickly retrieve information. How do you use the API Browser?


