

Saw a couple of ideas and posts lately about allowing reports to have information about the courses within a catalog. Definitely not a perfect solution, but for those waiting on improvements, might help somewhat. There is a way to use the API Browser to get some of this information. It’s not a 1:1 on the requests so I don’t think it warrants a true API Quick Grabs article, but it could help some folks.
Note: This uses a ‘GET’ call, so you are simply viewing the data, as a result it is very safe to do even if you are not comfortable using API’s.
Getting the data
- Go to your API Browser (<YOUR SUBDOMAIN>.docebosaas.com
- Navigate to ‘learn’ in the ‘Services’ menu if not on it already, select ‘Catalogue’ on the left-hand menu and select the first option: ‘Retrieves all catalogues, filtered on input parameters’.
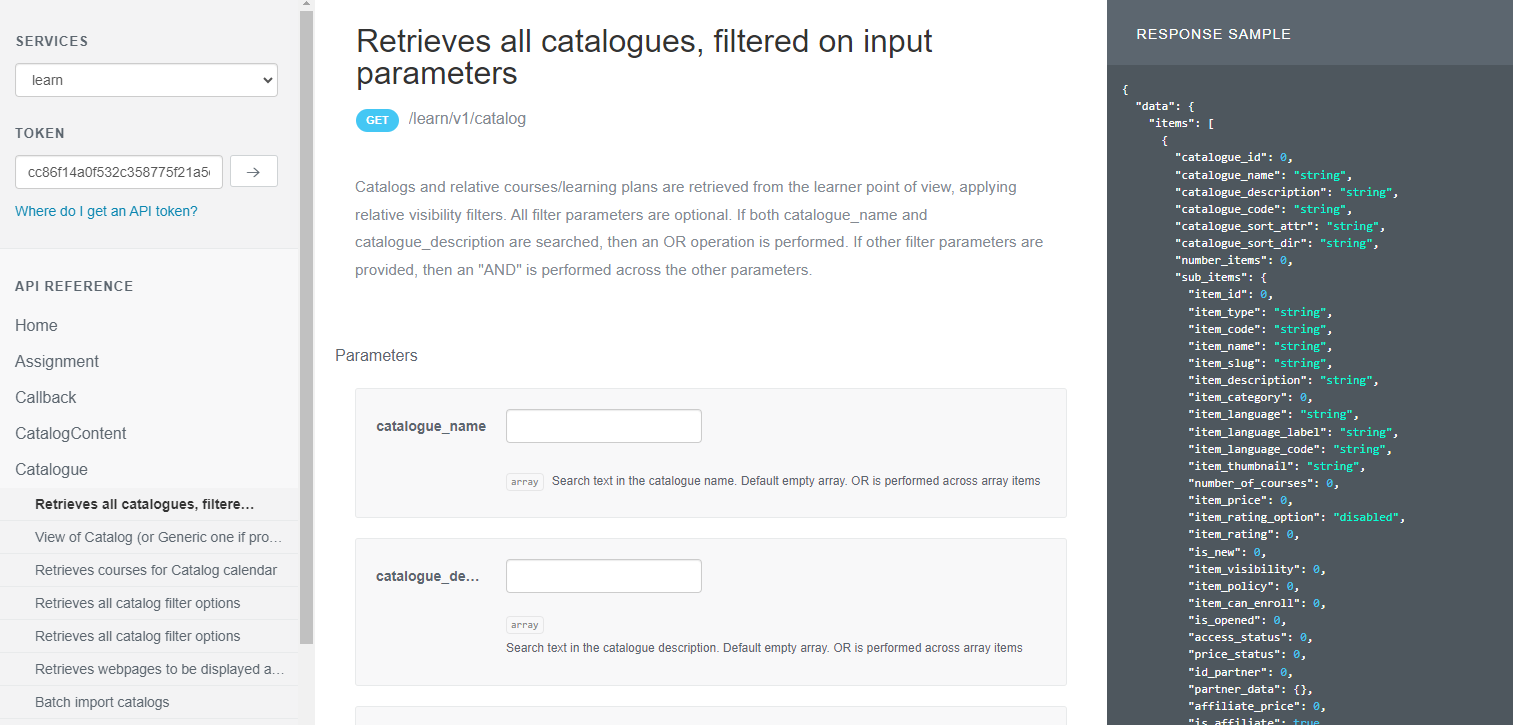
- You will notice there are a bunch of settings and filters in the middle. These are all optional, but definitively read through to be aware of what is there and might be useful.
That being said there are 3 to be aware of:- ‘show_item_list’: Make sure to set this dropdown to ‘1’ so that the items (courses, LPs, etc.) are shown in the call.
- page: If you have alarge quantity of data, the API will break it apart into pages. By default you will see the first page results, to see other pages, add the number here (2,3,4, etc.)
- page_size: This defines the size of each page to be segmented into. This is not limitless, but definitely try to make it as large as possible, usually 100-200.
- When ready, it is time to run the API Endpoint. Scroll down past the settings and look for the ‘Try’ and ‘Authenticate’ (Signout) buttons:
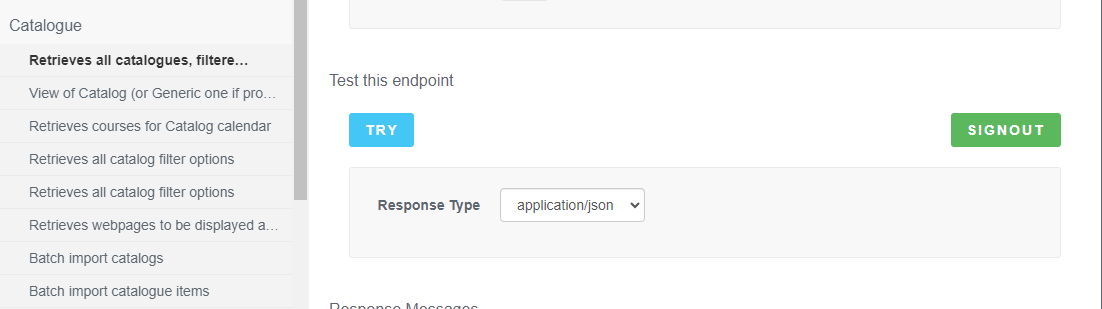
Note: If you already authenticated, it will say ‘SIGNOUT’, if you have not already, select it and log into your Docebo instance.
-
Click the ‘Try’ button.
-
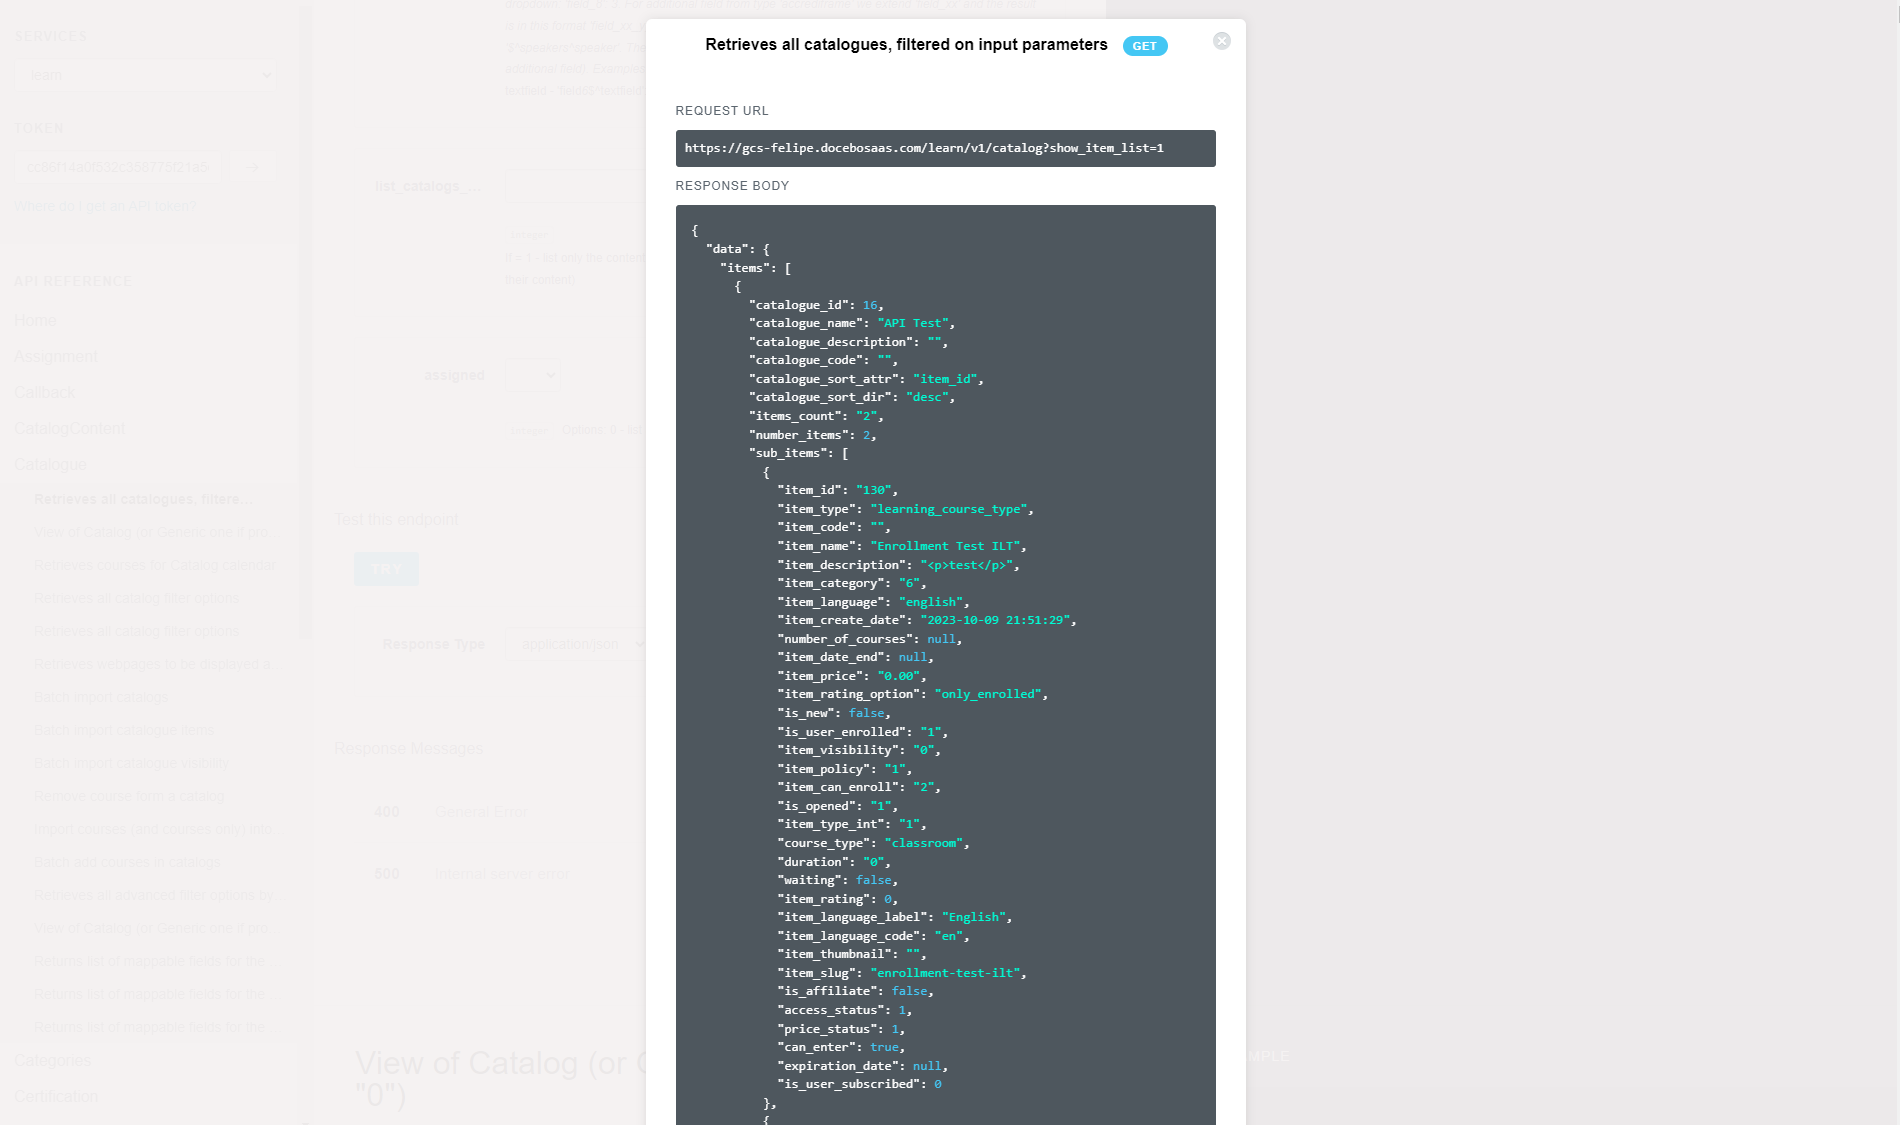
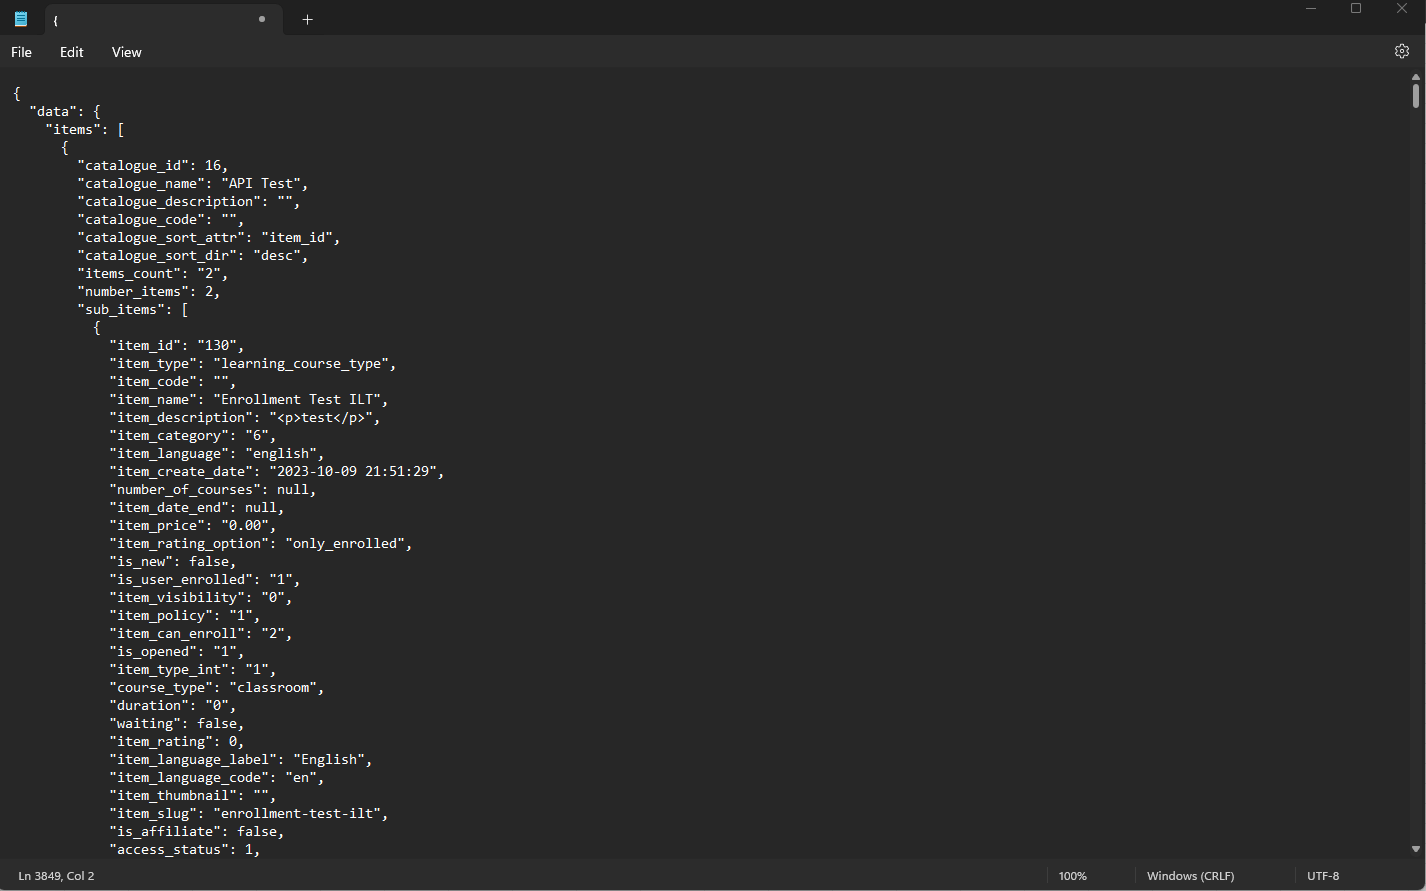
A modal will open in the middle of your screen with the response data. It should look something like this, but with your data:
-
If you look through that data you will see that it is in groupings, giving you the ID, Name, Description, and Code of each Catalog:

and then it will have an indented section called ‘sub_items’ which is a listing of each of the items within the Catalog.
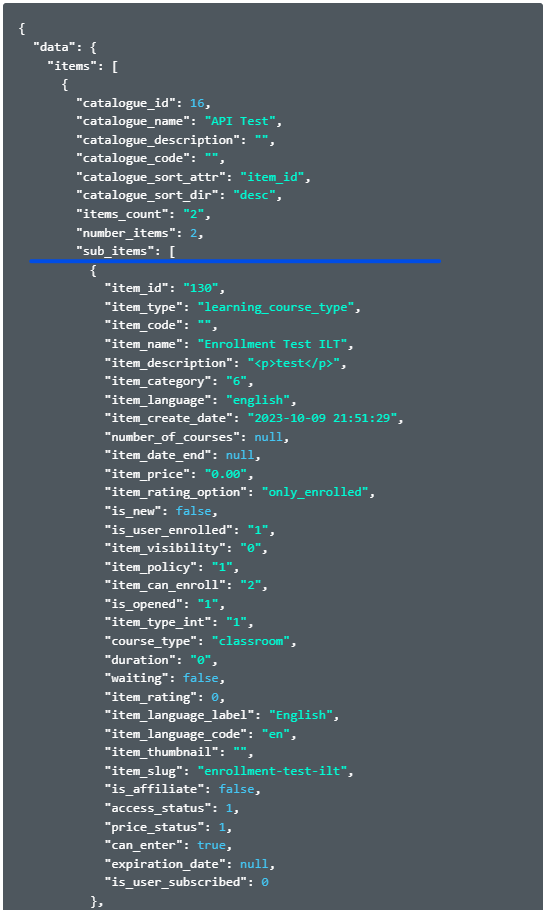
- With this, you technically have all the data, just in a format you probably do not want. This is called JSON format, there are a lot of conversion tools out there that will do JSON to CSV or similar, feel free to find one and use it, or if you have someone who is comfortable with JSON they can often quickly convert it. Alternatively, I am going to outline how you can do this in Excel below as an option as well.
Import JSON into Excel and Convert to a Table
- Copy the entire entry from the ‘Response Body’ box.
- Paste this into a non-formatting text program (Notepad will work fine)
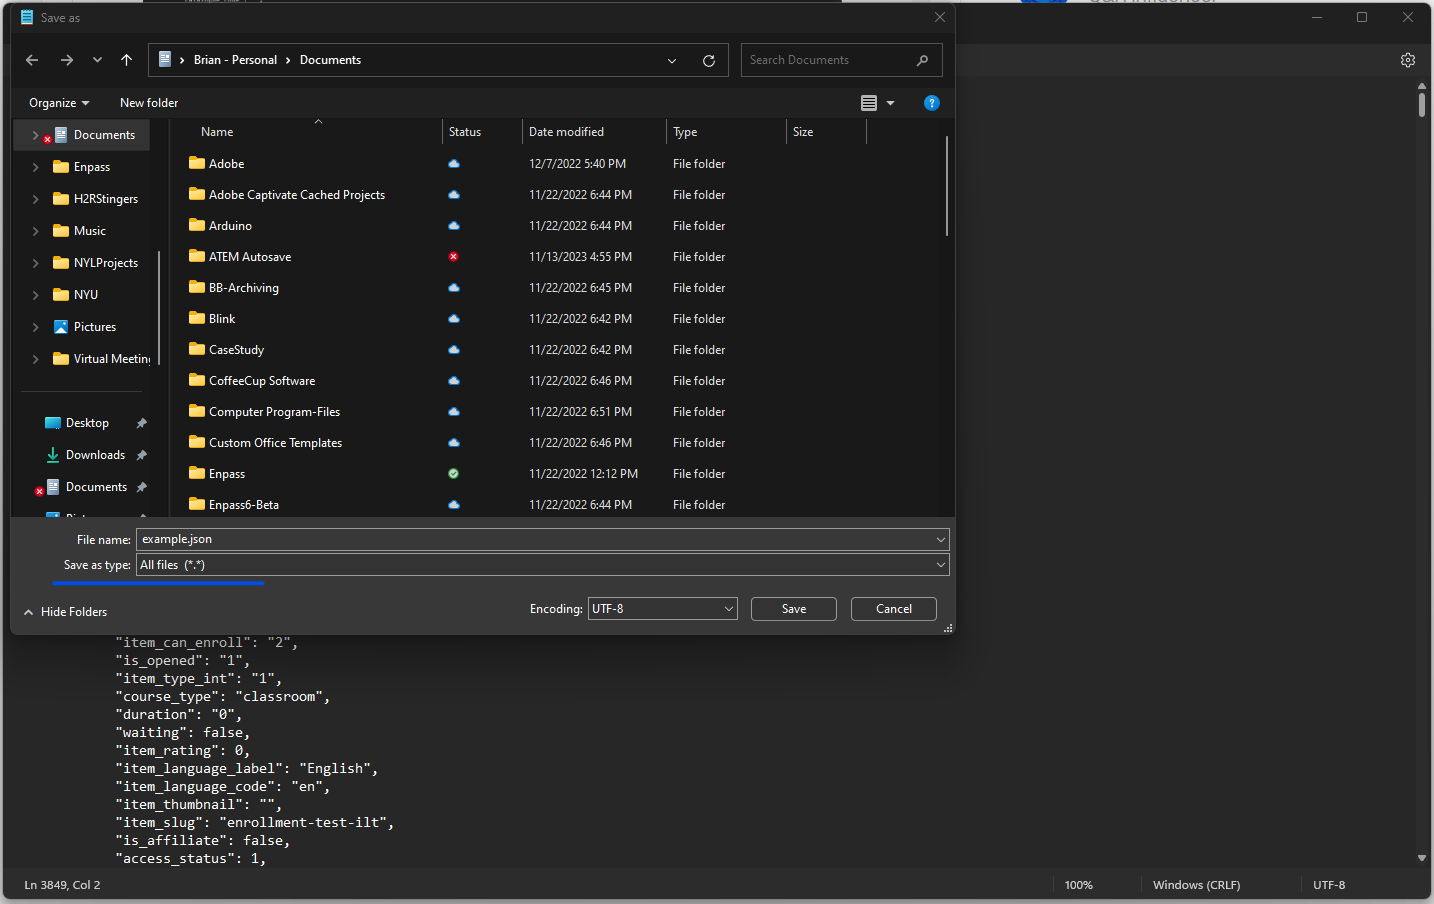
- Save the file with a name and make sure to use .json as the file ending, you may need to change the ‘file type’ dropdown menu:
- Open up Excel.
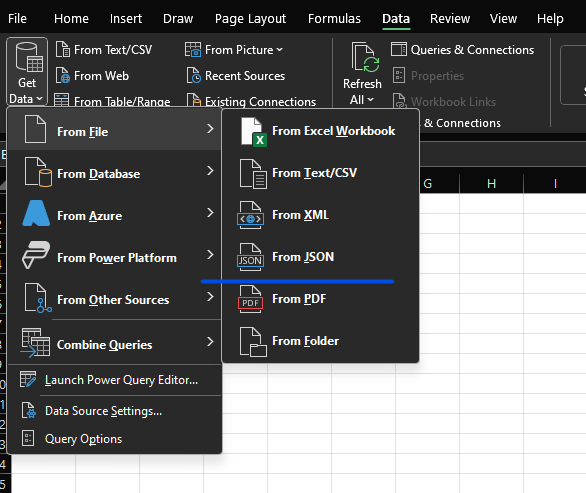
- On the ‘Data’ tab, go to the ‘Get Data’ menu, look for ‘From File’ and then ‘From JSON’
-
Find your file and select it to open, this will open Power Query editor.
-
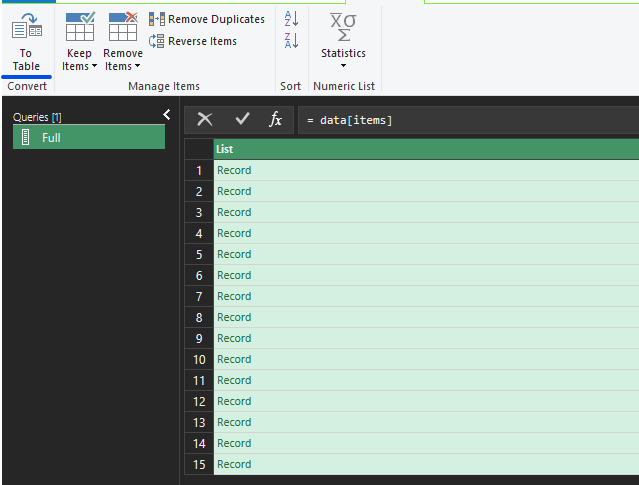
We need to navigate down a few level. Double click the ‘Data’ row that currently says ‘Record’
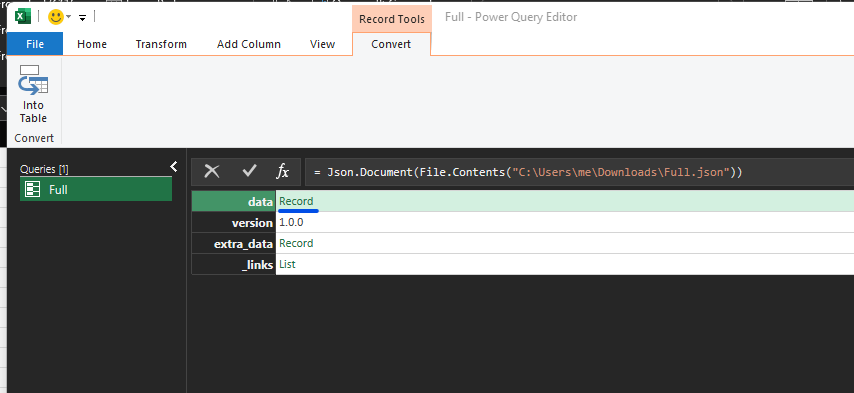
NOTE: Make sure to click the actual ‘Record’ word. The table shown here should change completely, otherwise you have not done it right.
-
On the new table, select ‘List’ on the ‘Items’ row:

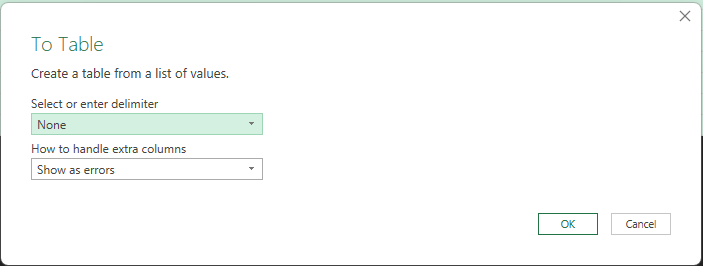
- You should now be on a table that has a header of ‘List’ and several identical rows each with ‘Record’. In the top left corner, select ‘To Table’
- Select ‘Ok’ on the modal that opens of options:
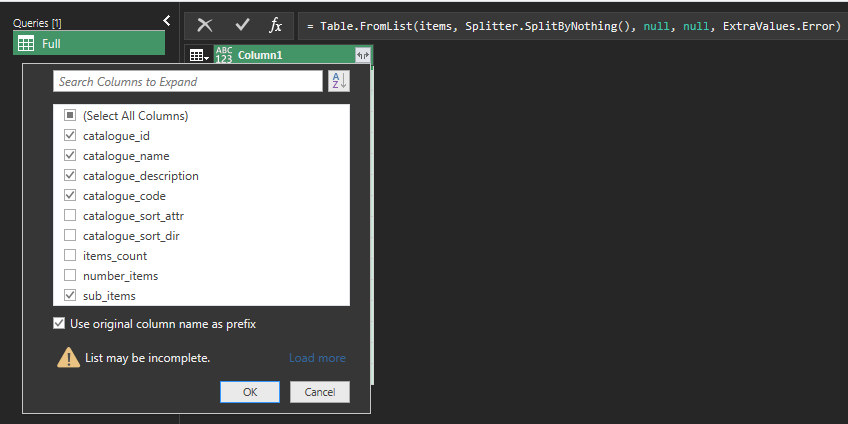
- On the new page showing, we need to expand the data columns. If you look at the ‘Column1’ you should see an icon on the right with two arrows curling away from each other. Select this and you will get a modal asking which columns to expand out. You can select what you want here, but my recomendation is to just keep the ID, Name, Description, and Code of the Catalog, and the sub_items at the bottom. Make your own choices and when ready select OK.
- You should see a sample table of your data. We are almost there, we just need to expand the data on the ‘sub_items’ column. Again look for the two arrows expanding outwards. This time select, ‘Expand to new Rows’:
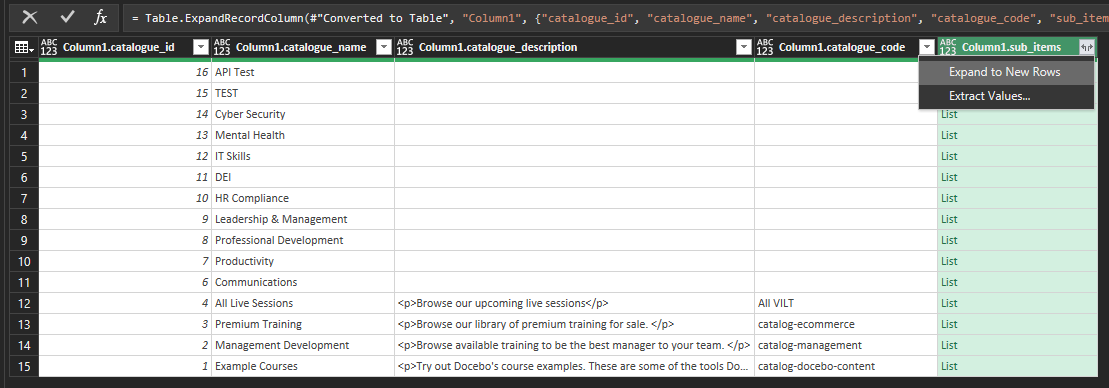
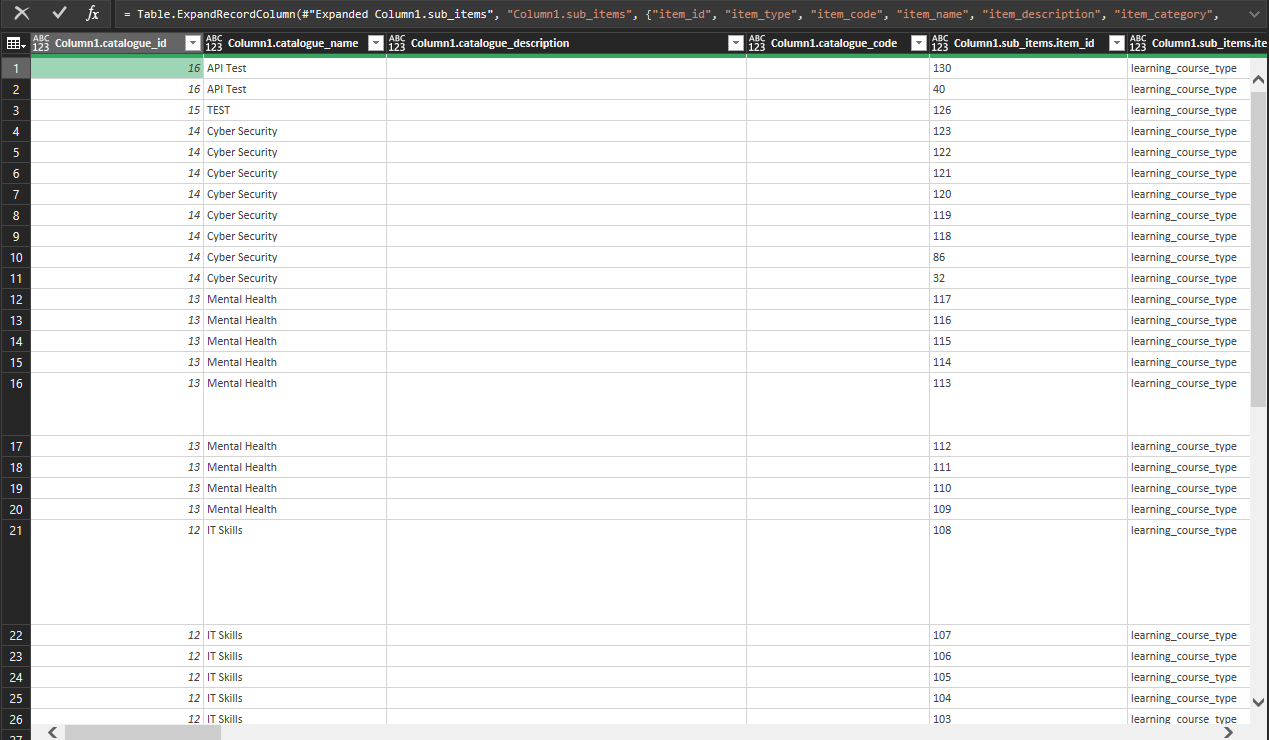
- Select he icon of two arrows moving outwards to expand the ‘Column1.sub_items’. Again, you can leave everything selected, or select just the data you are interested in. When ready, select OK. You will now have a row per item within each catalog. Notice the first column below shows multiple Catalog id’s that are the same, you can now filter and sort easily:
- When ready, add this data to your Excel. Select the ‘Close and Load To’ button in the top left.
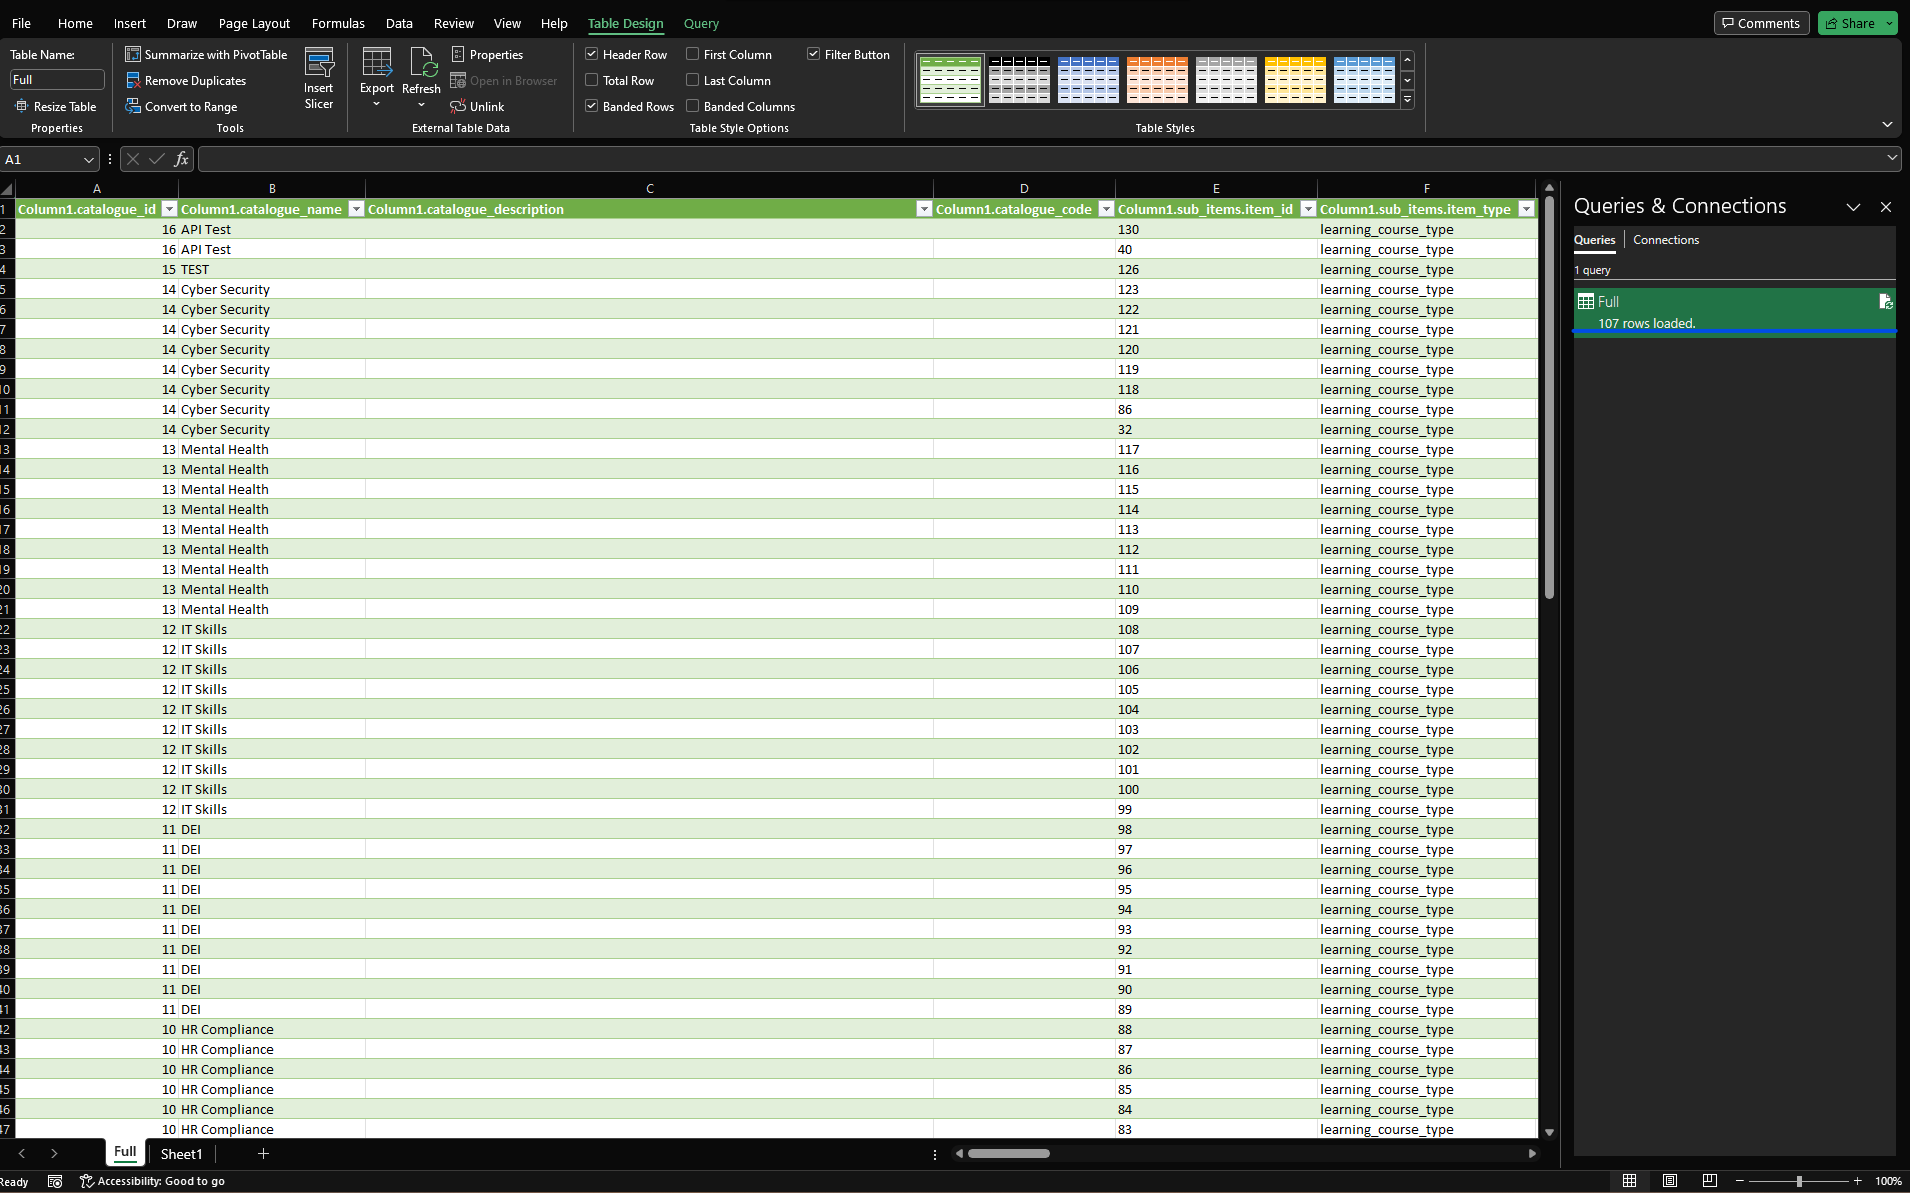
- This will insert a new table into your Excel workbook with all the data configured as we just did:

TIPS
Alright so you have all the data now, you can do anything you normally would in excel, sort, filter, build charts and graphs off of the data, etc. Below are a couple of tips for managing this data.
- The above process may feel overwhelming to do, especially if you are planning to do it often. Keep in mind, this process means you only have to set it up once technically. Because the JSON file is now a data source, you can simply update the content within that file, save, and refresh the data in excel.
- You can refresh in the right side in the image above by clicking the refresh icon:
- You can also go to the ‘Query’ tab in the top ribbon and find a refresh button.
- You can refresh in the right side in the image above by clicking the refresh icon:
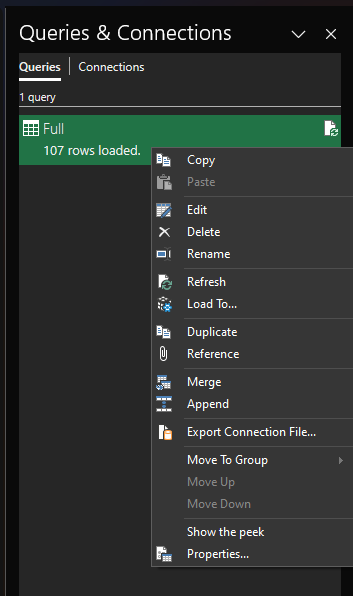
- If you don’t want to think about refreshing, On the connection, if you right-click and select properties, there is a setting to refresh when you open the file:
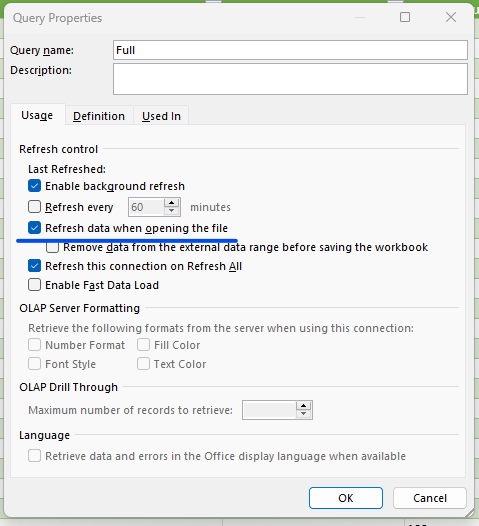
Now, when you open the excel file, they will automatically refresh, meaning if you go do the API call, update the JSON file, then open the Excel file, it will auto-update and you can skip all the prior steps once you have it setup this way.
