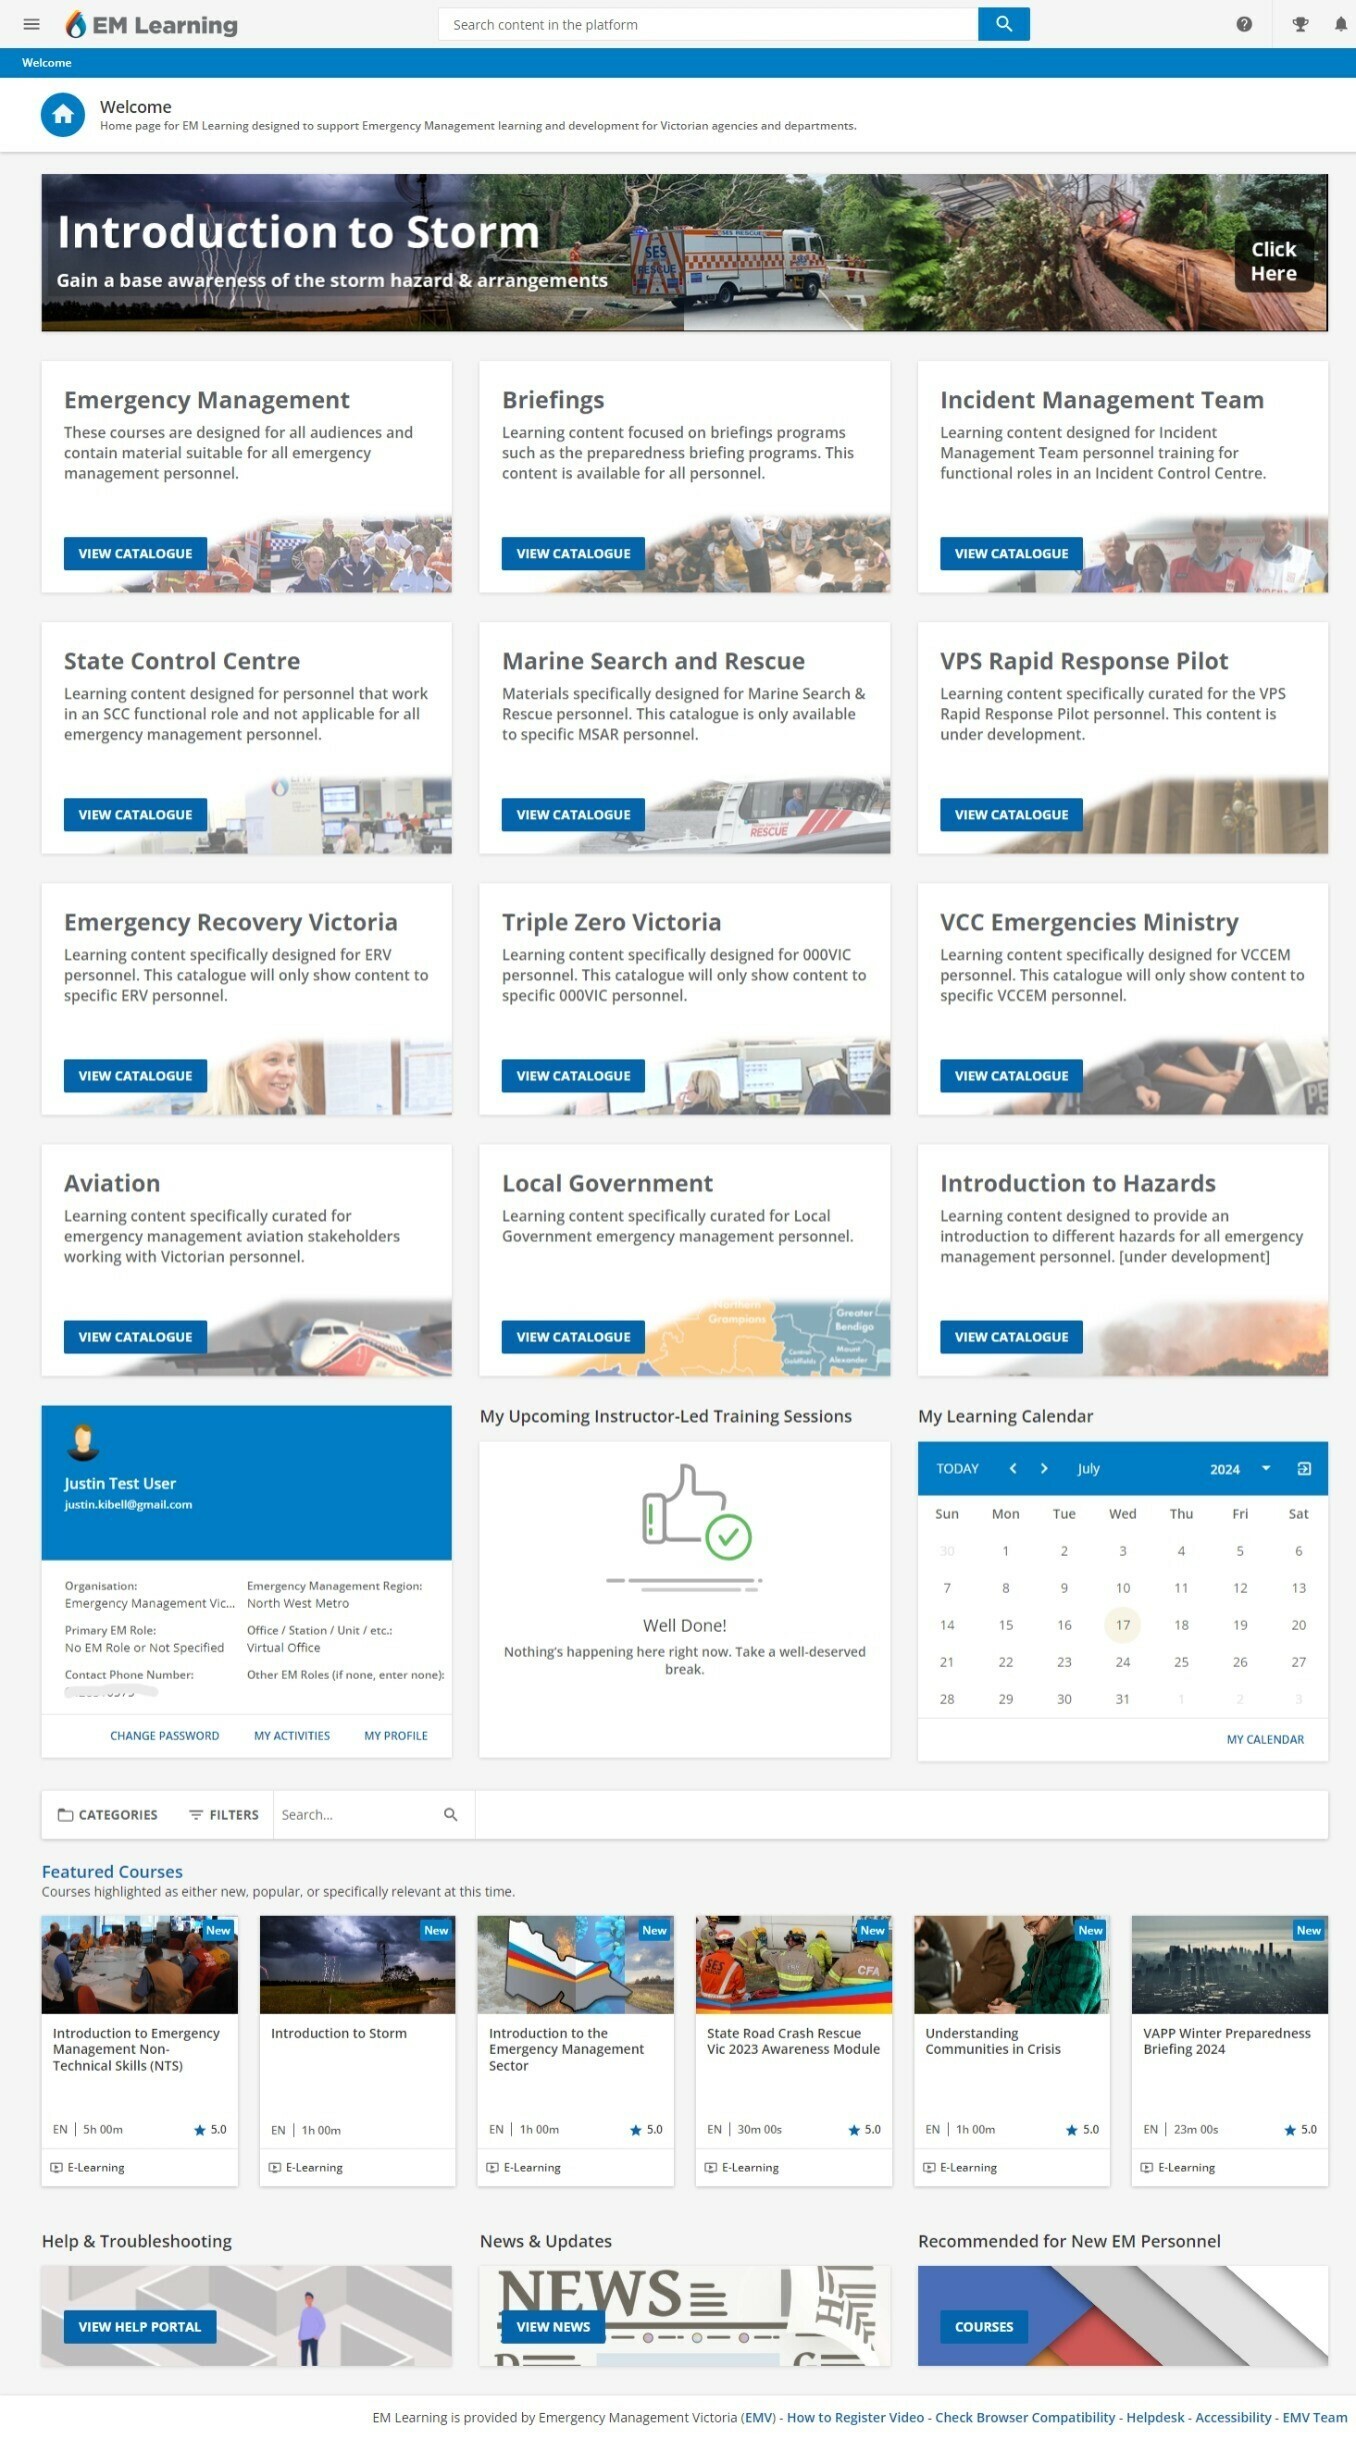
One of the most powerful features within Docebo Learn is the ability to create custom pages and menus.
By using this feature, you are able to target the visibility of pages and menus to certain audiences, including the ability to:
-
create branded landing pages for your most high profile clients.
-
create specialized learning environments for different teams within your organization.
-
differentiate the user experience of internal teams vs clients.
This handy tutorial has been created to help explain how landing pages work along with their relationship to a user’s menu as well as to help identify what audiences to target for specific landing pages/menus. You’ll also learn how to:
-
build a custom menu
-
add pages to custom menu
-
set the visibility of custom menu
-
think through the ‘Manage Menus’ page including what considerations need to be made in order to ensure the right audience has access to the custom menu
Prerequisite Knowledge
Before diving in, we first recommend you:
- Create an existing user architecture and configured your branches
- Are familiar with how to create groups and sort users via additional fields
- Pre-build pages you’d like to sequence in a menu and have a plan for what audiences you’d like to have access to which pages
- Complete these Docebo University courses
Now, let’s begin!
To help us illustrate the problem we’re trying to solve, let’s take a look at this example:
Taylor is an LMS admin at a company that provides software and services to their clients. As an LMS Admin and Learning Coordinator Taylor is trying to effectively organize the product training that they provide for both customers and internal employees. On top of this need is the reality that their company also works with partners and resellers and those audiences will also have specialized training both required (enrolled) and self guided (self-enrolment).
Taylor’s company sells two unique products whose populations rarely overlap. They’d like to create a different experience for clients who purchase Product X and for clients who purchase Product Y.
So, how can we create different experiences for these different audiences after they’ve logged in? By using Pages and Menus
Quick Overview: Landing Pages and Menus
A ‘landing page’ is a page that is displayed when the user first logs in to the LMS. The page that displays to a user is determined by whatever page is the top navigation of the user’s menu.
For instance, in the screenshot below, ‘Partner Landing Page’ is the first page listed in the user menu which means this is the landing page for this user upon logging in.
At this point, you may be wondering what dictates which menu a user sees in the system. So, let’s take a closer look at visibility!
Visibility: How to tie different audiences to menus (and thus landing pages)
If you recall from the above example, there are three audiences to target for unique landing pages:
- Customers
- Partners
- Employees
The menus associated with each audience will be dependent on the architecture of your user management strategy.
In the screenshot below, each menu provides the option to determine which Branches or Groups have visibility over said menu. Additionally, there is the option to determine which user levels will also have access.
Taylor (the admin from the example) needs to build unique landing pages for three main audiences which are organized within within separate branches in the following way:
Please note, it is not a requirement to use branches to identify the audiences. Ultimately, it comes down to how the audiences are organized within the system and setting the visibility of menus in order to align with the branch or group of users within the LMS.
How to build custom menus
Here’s how Taylor could create the three unique menus:
Within each menu, Taylor would assign menu visibility to the the branches or groups. Additionally, Taylor would dictate what user levels within these branches or groups they would be visible.
Important note: If none are selected, the system assumes all levels apply.
How to assign custom menus
Based on the example, here’s what the visibility of each menu looks like:
Partner Menu would be assigned the Partner Branch
Customer Menu would be assigned the Customer Branch
Employee Menu would be assigned the Employee Branch
Manage Menus Page
When a user logs in to the LMS, the system refers to the list of menus located on the ‘Manage Menus’ page. It starts with the top menu and then verifies whether the user in question falls into any of the visibility rules set within the menu.
So (using the screen shot from the earlier example), if a partner logs in, the system will recognize the user in the partner branch and will be presented with the custom menu and landing page for partners. If the user is a customer, the system will review the rules associated with the first menu (partner) and conclude that the user does not meet the requirements and will, therefore, move to the next menu in the list.
Important Reminder
There are situations where users might fall within the visibility rules of multiple menus therefore, it’s important to understand the logic behind custom pages and menus in order to be able to accurately target the correct audience with the correct menu.
To see an example of this logic, check out this guide: Creating A Sequential Learning Experience
Share Your Experience!
We’d love to hear about your experience with custom pages and menus. Do you currently use them? If not, will you use this guide to help you start? Please share below ⬇️⬇️


