

![[JUNE 2023] Live in Sandbox: Multiple Course Completion and more!](https://uploads-eu-west-1.insided.com/docebosuccess-en/attachment/4bf0649d-1577-4809-9849-240c8213c79f_thumb.jpg)
In this Sandbox post you’ll find:
We’ve got lots to share this month, including one LONG-awaited feature that’s sure to save you some time.
So read on and explore what’s now available in Sandbox!

Multiple Course Completions
It’s finally here: The ability to complete a course multiple times without needing to manually duplicate a course, archive the original, and re-enroll learners. Now, you can re-enroll a learner into the same course by archiving their previous enrollment. When a learner needs to renew their certification, the old record can be archived, maintained, and easily viewable for both learners and admins.
Here are the highlights:
- Two new enrollment types (Active and Archived), with accompanying fields and lists to help sort and visualize current and past enrollments
- The ability to archive course learners (individually or multi-select)
- The ability to view archived reporting data and download certificates
- The ability to set archive preferences for learners
So…how do you use this and what does it mean?
It means easier certification and compliance (plus some other stuff!). And here’s how to use it:
Pretend you have a certification course that is coming up on renewal. It’s time for everyone to go through the certification program again. But instead of creating a new course and re-enrolling everyone, now you perform all the actions for recertification within the existing course, while also maintaining past data for reporting purposes.
STEP 1: NAVIGATE TO THE COURSE
Start by navigating to the relevant course.
STEP 2: NAVIGATE TO ENROLLMENTS
Upon entering the course, go to the ‘Enrollments’ tab.
You’ll notice a new feature: The ability to distinguish between active and archived enrollments. These new enrollment types help visualize and manage your previous and current certification periods.
Active Enrollments describe learners who are actively enrolled in the course.
Archived Enrollments describe learners that have previously completed the course, with data tied to their record for reporting purposes.

You can switch views between the two enrollment type views to see all your learners and their existing and prior enrollments in one place!
STEP 3: ARCHIVE EXISTING ENROLLMENTS
Now it’s time to reset the course for the new certification period. To do this, we’ll need to archive the learners that need to recertify or retake the course.
You can do this individually or with multi-select


STEP 4: CHOOSE YOUR ARCHIVE ENROLLMENT PREFERENCE
Now, choose your enrollment preference for archival from these two options:
- Archive and Re-Enroll
The current enrollment will be archived and the learner will be re-enrolled in the course - Archive and Unenroll
The current enrollment will be archived and the learn will no longer be able to access the course
Next, choose whether or not to reset the tracking of the course training material by selecting or deselecting the checkbox. If you want the learner to go through the original material again, select the checkbox. If you add new material to the course and don’t want the learner to go through the previous material, leave the checkbox unchecked.
Select ‘Archive Enrollment’ to get the process started.

Important Note: You can’t yet archive learners automatically when they finish a course. But rest assured that it’s on our radar!
Viewing Archived Enrollment Details for a Learner
Want to find data about your archived learners within the course? No problem!
- Go to the Enrollments tab within the course.
- Select ‘Archived Enrollments’ under the Enrollment Type section.
- Select the learner whose details you want to view by clicking the sandwich menu icon. Select ‘Details’.

- You can see the data available regarding the archived enrollment on this submenu, including the ability to download the certificate of completion.

…and that’s it! We know that this feature has been long-awaited and often-requested, and we’re so glad to finally roll it out for you!
Changes to the Learner Experience (added to Post on June 1)
Now what can your learners expect to see from this release? Quite a bit!
We created a new certification widget that allows you to bring ‘renew’able certifications front and center on a page.
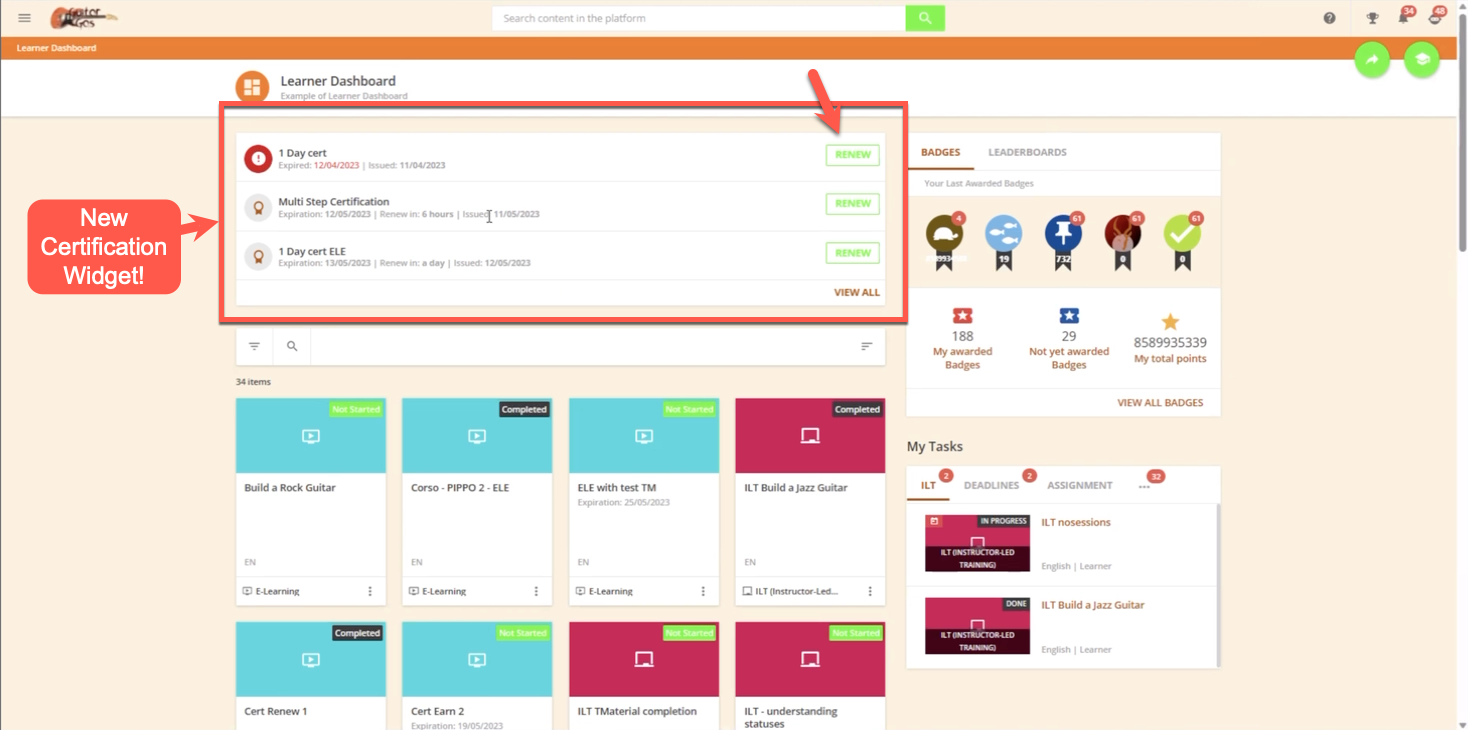
Learners can also access their ‘My Activities’ certification section to view and renew available courses.
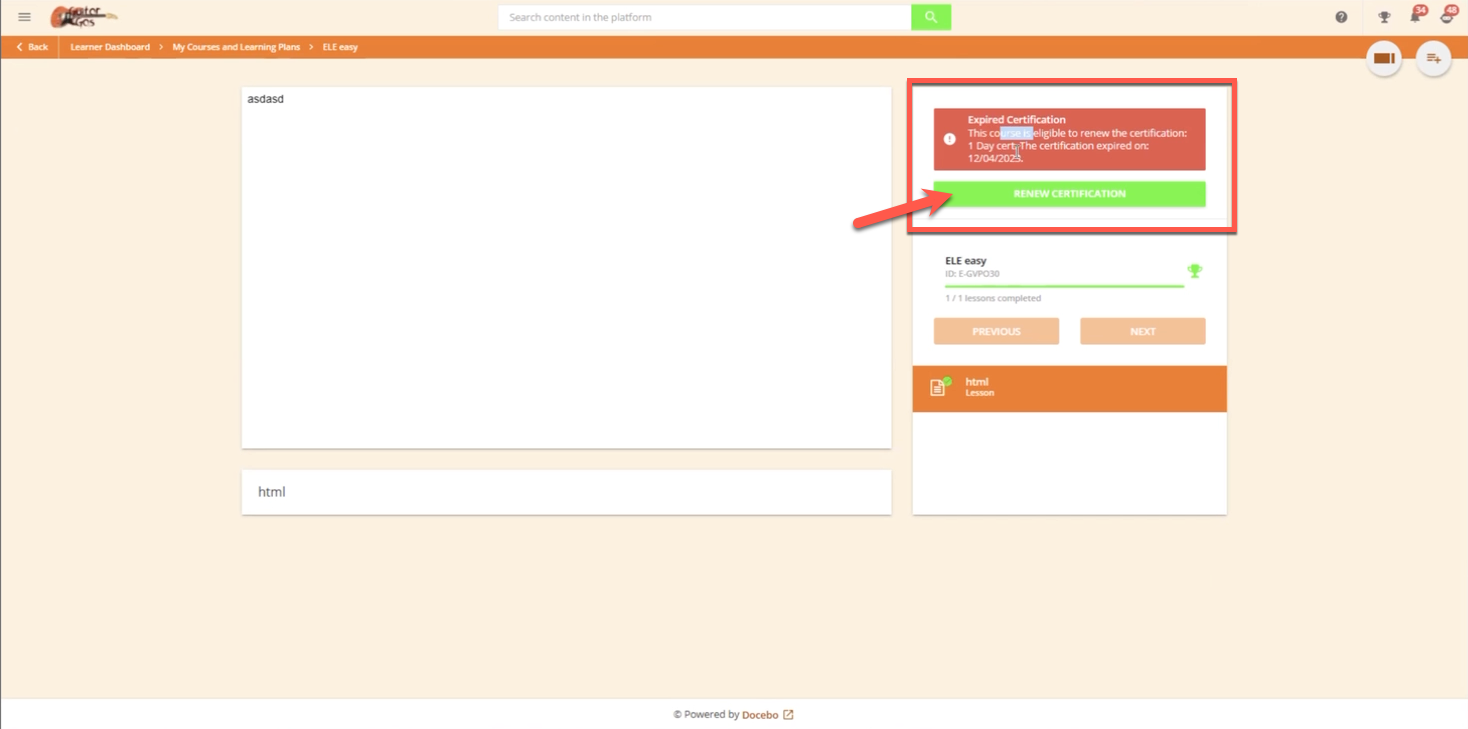
We added certification expiration informational banners for inside courses to allow learners insight into certification status.
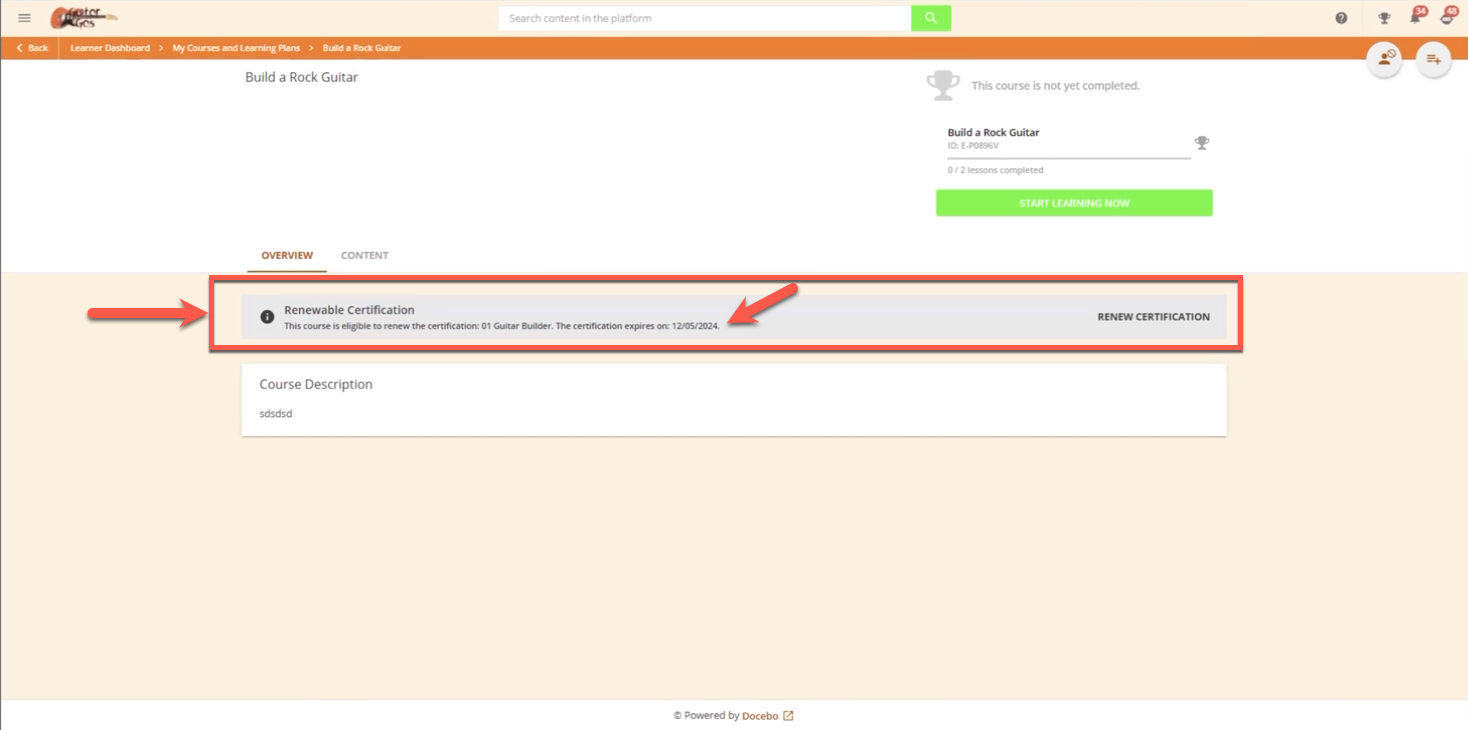
We added the ability to choose to renew a course directly within a course for those that are requiring renewal.
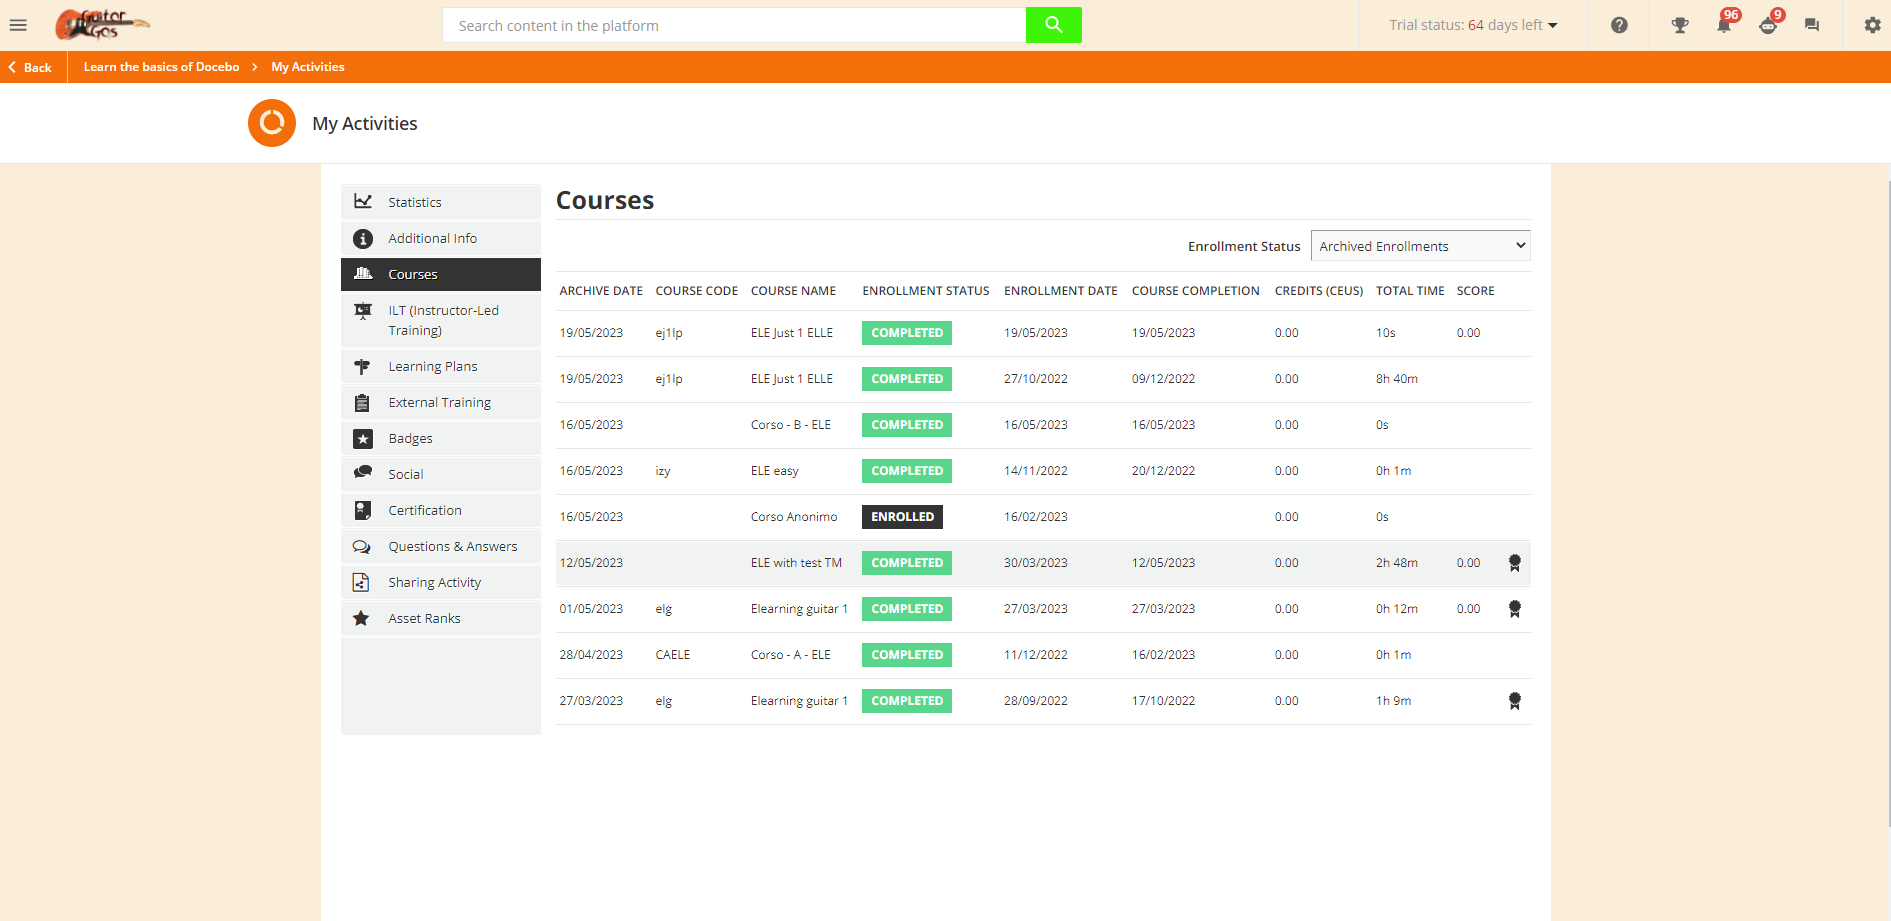
We also added archived enrollments in the course tab of “My activities” for the learner.
Please note that the archival of an enrollment is a not reversible operation, and it will not store everything, but a list of data. Read this article in the Knowledge Base to know more.
…and that’s it! We know that this feature has been long-awaited and often-requested, and we’re so glad to finally roll it out for you!
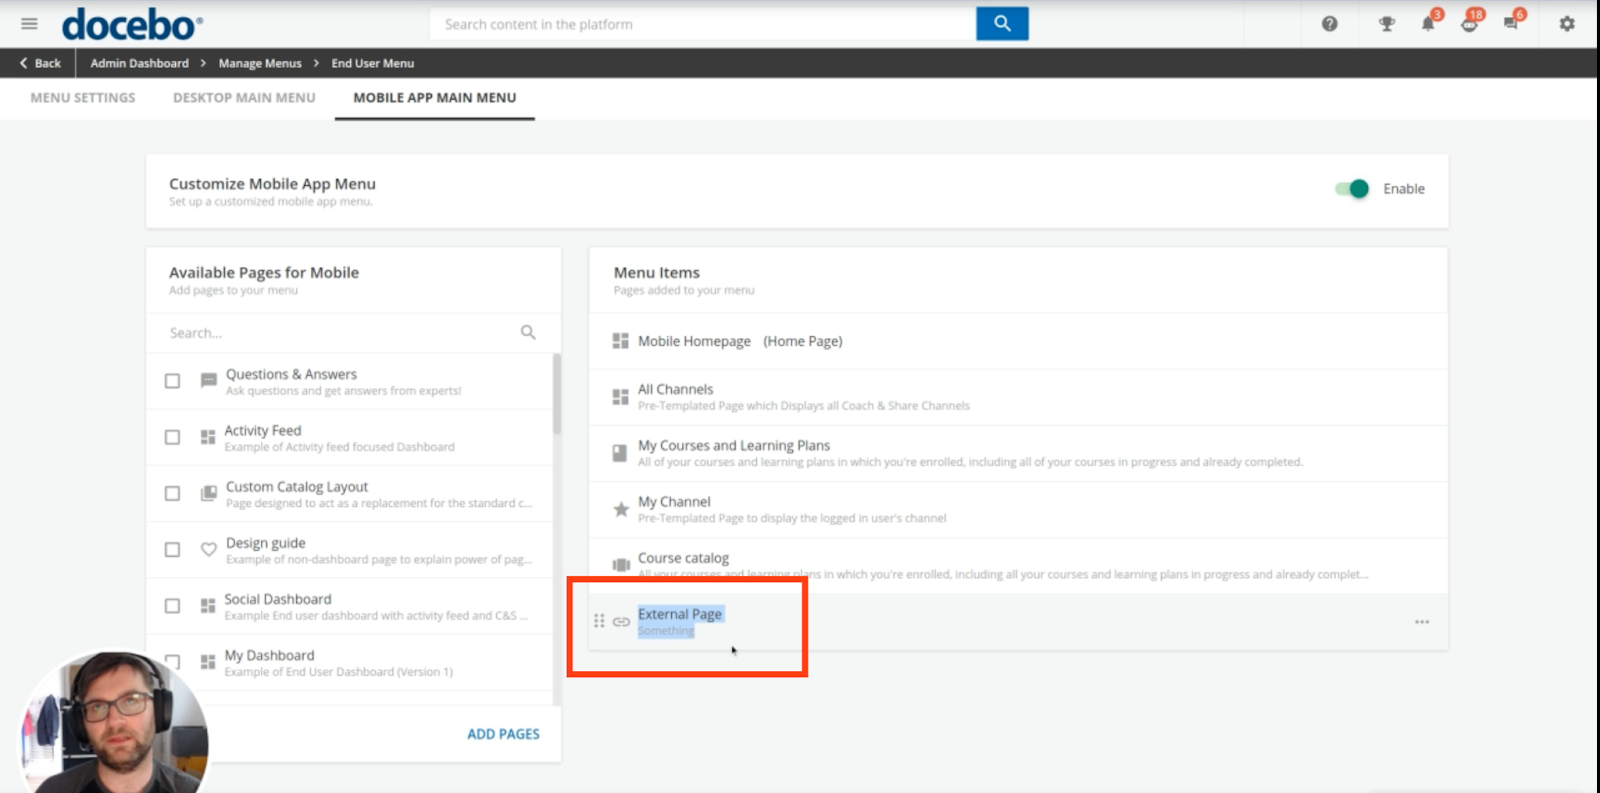
Go.Learn: Now Supports Authenticated External Links
Until now, mobile app users that accessed external pages with security mechanisms would land on a blank page. Sad 😢
But…we fixed it! Rad 🤩
When a learner is connected to the LMS platform via the mobile app and opens an external link equipped with security mechanisms, the page now properly displays within the app.
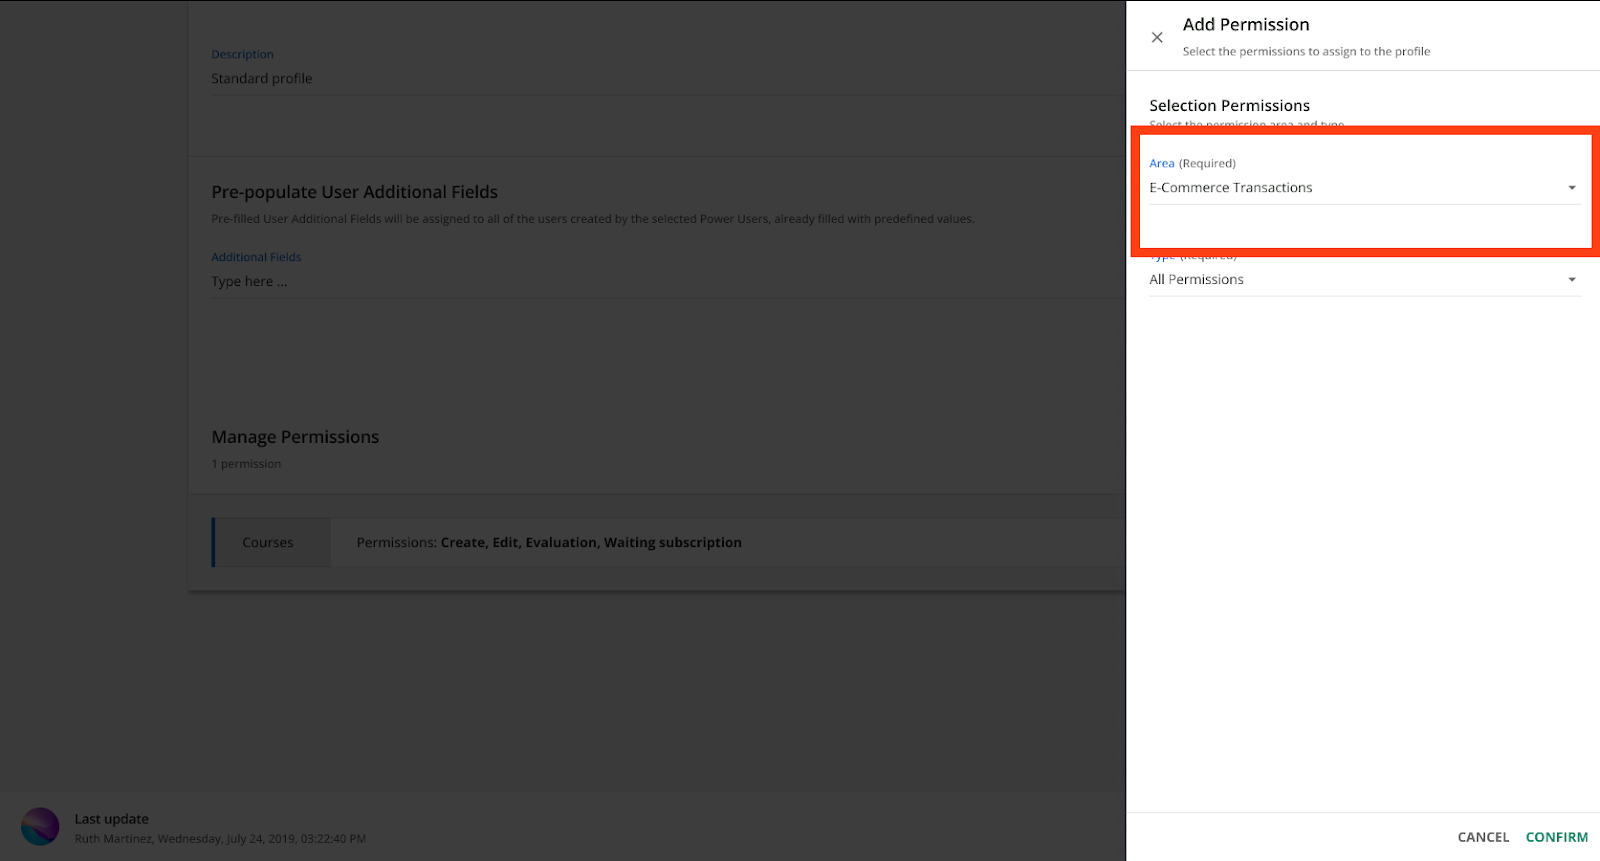
PU Permission for e-commerce Transactions
With this update, we’re making power users even more powerful 💪.
As long as you have the e-commerce app enabled on your platform, admins can now grant several new permissions to Power Users.
Once they’ve been assigned View/Edit permissions, Power Users will be able to access transaction reports associated with any managed user. Just remember that to see a user’s transactions, they’ll need visibility to that user as well, so don’t forget to enable that setting.
E-commerce: Stripe Strong Customer Authentication (SCA) and New Stripe Tax Feature
E-commerce is complicated, especially when operating internationally. Whenever a product or course is sold, the seller needs to collect and then pay taxes to the relevant government.
It’s time-consuming and a headache. And the larger (and more international) the company, the achier it gets.
Here’s the good news: the reporting generated by Stripe Tax can now be downloaded, imported, and integrated into various customer management systems.
This functionality impacts the experience of both the administrator and the end user. Here’s how to get started:
- The administrator must enable tax collection in Stripe, configure their LMS, and download reports from the Stripe console.
- Set your Stripe TAX on the Stripe portal here and download reports periodically from the Tax Dashboard.
- In the Payment Methods field, set ‘Stripe SCA’ and enter the appropriate TAX_CODE when you configure payment methods. You can find a list of Stripe tax codes here.
- You’re done! From the learner’s perspective, they will see a form after clicking ‘checkout’ asking for a few extra billing details. Once those are entered, Docebo will automatically communicate with Stripe SCA, calculate the appropriate VAT/GST, and add it to the bill.
It’s commerce magic!
That’s a wrap!
As always, thank you for taking the time to read through all of our updates now in Sandbox. We hope these new features make things easier and save you lots of time.
Until next time!
📢 We want to hear from you!
Thanks for taking the time to read the June Sandbox post. We’d love to hear what you think! Do you have any ideas or plans to use this update? Share with us in the comments below ⬇️⬇️⬇️


